Friday, November 17, 2006

Wood Stove Is Online

Almost online, anyway. I still need to get an adapter for the stove to the pipe. It's currently just being held by a tight fit. So tight that I can't get it on far enough to drive screws to secure the connection. Here it is in mid rope insulation:


My first burnable material - lathes from the old walls.


Here's a glimpse of the flames. I still can't verify for sure how good the draft will be. The small amount of newspaper was a-roarin' but the lathes never really took to it. I need to get some good firestarter blocks.

Wednesday, November 15, 2006

Crack!

I have found a few cracks in my chimney that I am about to hook up my wood stove to. I am not using a liner due to the ID of the chimney being only 4-1/2" x 8-1/2". From speaking to City of Portland inspectors, the dangers of not having your chimney lined lies mostly with carbon monoxide poisoning. However, I'm not UNcomfortable with this since I have carbon monoxide detectors and I will only being using the wood stove on an occasional basis. Like during those 5 really cold days in the Pacific Northwest.

But should I be worried about this type of small crack?

Tuesday, November 14, 2006

Why Labradors Enjoy Home Remodeling

Because the supply of wood scraps they get to chew on are endless!

In the chimey prep project for the wood stove, I needed to verify the gap between the chimney and floor. While doing so, I came across this little bit of plywood that was in the way. Not only did this provide an opportunity to use my reciprocating saw again, but Scully now could be put to work as a splinter making machine. That little piece took about 5 minutes to be turned into a pile of worthlessness. And yes, there's a little piece stuck to her nose.


Monday, November 13, 2006

Danger, Danger, Danger!


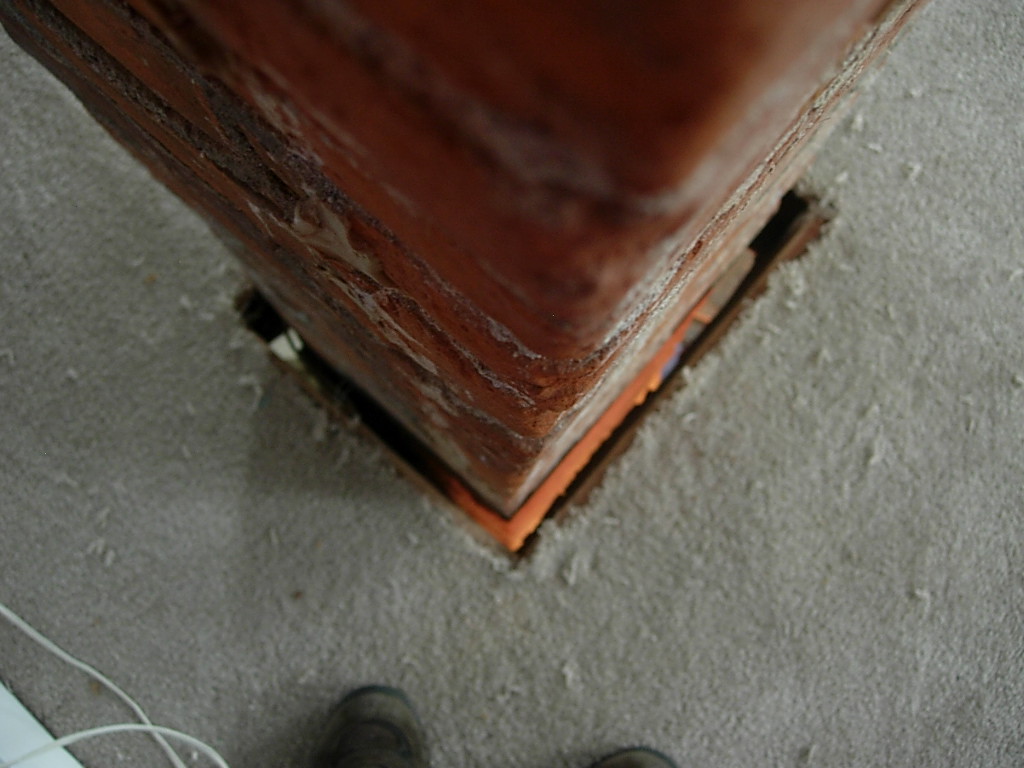
Per the city code, all masonry chimneys for wood stoves require a 2" gap between the chimney and any combustible material. Having the carpet on the upstairs floor laying right next to it seemed a bit dangerous, so I spent my Sunday morning cutting the carpet away, as well as cleaning all the crud that accumulated between the joists and chimney thoughout the years. While doing that I found some interesting collection of comics from 1934. Here's the "after" picture of the project. The reddish glow is from the lighting from below.


I still need to apply some sort of frame around the carpet on the floor, as well as add some fire resistant insulation to fill that gap. I did some research and found one local wood stove supplier has this insulation, but it's about $20 a foot!

Sunday, November 12, 2006

Chimney Connection

This morning I got motivated to make more mess with some mortar (alliteration not intended).

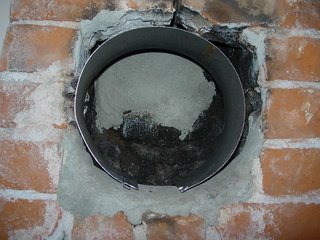
Here's the opening to the chimney as I found it:

Having such an odd shape as above makes for a difficult way to seal the stove pipe to the chimney, so I stuck a 7" stove pipe in the opening, with plans to fill the void with mortar:

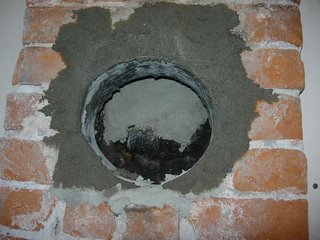
And here's the final product, showing the fresh mortar placed in the void surrounding the 7" pipe. Probably half the mortar that I started out with ended up on the tarp that was on the ground below. It was quite a messy job.


To seal the 6" stove pipe to the opening, I plan to use some fire resistant insulation rope that the wood stove folks provided.

Wednesday, November 08, 2006

A Little Overkill

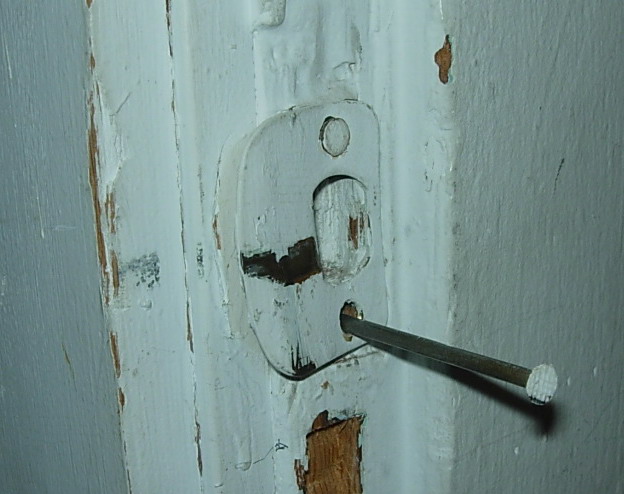
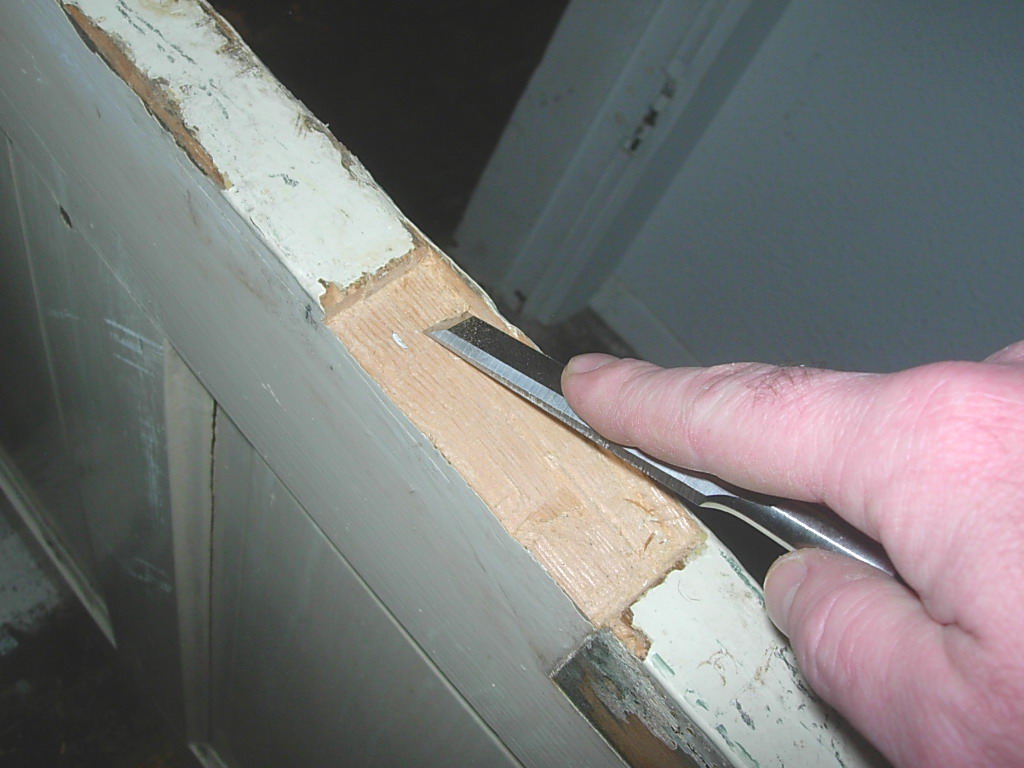
Don't get me wrong, I believe in over designing where necessary, just for the solid feel, but 3" nails for a tiny stike plate?


I finally got my necessary dimensions and obtained the door hardware at "the joove". It is unbelievable how not standard old door hardware is. I'm quite happy with how everything is fitting well, but I do still need to run and get some fasteners. I was stealing from the other old doors in the house, just to get all set up to verify it would work.

Tuesday, November 07, 2006

A Cool New Tool

A few weeks ago while in Home Depot, I came across a fairly good deal - a DeWalt compressor combo consisting of (2) nailers, and a compressor for $260. I wasn't quite ready to buy so I made my purchase of intention, and kept this in the back of my mind. I have several other DeWalt tools that have been great and having a nailer for the panel wainscoting seemed to be worth the price. I've never used one but I understand with installing trim, it is a humongous help because it's quick, chances of hammer dents are eliminated, and you don't have to set the finish nail.


I ended up buying it at Lowes last week for $233. The Home Depot that I originally found it had no more on the floor, and they were clueless as to when they'd be getting more in. Actually, they were clueless as to the very product I was talking about.

Imagine that....Home Depot not knowing anything about the products they sell.


Monday, November 06, 2006

I Love Mortising

I love it so much, that I went too deep and ended up having to shim to get the hinge flush with the new-old door edge. But really, mortising is surprisingly enjoyable. I like that fine hand work and precise detail. It might also have something to do with the fact that I successfully hung the new-old door within 2 hours! The last time I hung a door, it took me about 8 hours.


As I was working on this, I was thinking about what kind of old house this new-old door came from. I was also figuring that the hollow core door that I was now replacing, probably replaced some other heavy 5-panel door. Then I wondered, that replaced door is probably now in some other old house in town. Maybe the same house that this door came from? Whoa.

I still need to paint, install a knob, new strike, etc. but I'm really liking that 5-panel look. See if you can spot Scully. She sort of blends into the floor, being all dark chocolate and stuff.

Sunday, November 05, 2006

A New-Old Door

I actually bought this old salvage door last Thursday but just now I'm getting around to posting. I bought it at Rejuvenation, after hitting a few other less spendy salvage places in Portland. My upstairs has three of the 5-panel door style that are nice and heavy. My goal is to eventually have all the interior doors that 5-panel style. Just say no to cheap hollow core.

I got pretty lucky as I found very few old doors that matched the dimensions I needed. Let's just see how lucky I get when I go to hang it...

Here's the door, stuffed in my CR-V:


Wednesday, November 01, 2006

Floor Vent

So far, this has been the easiest part of the dining room remodel. I was even able to get a chunk of it done, while still dealing with the ALL the trick-or-treaters tonight. All 3 of them. I guess the brisk east wind is a little much for them.

Anyway, the vent is currently in the wall.


But, I thought this would interfere with the panel wainscoting too much and I like the looks of the old fashioned floor register. So, today during lunch, I ran around town looking for one, and finally got this one at Rejuvanation for $95. I still need to refinish it, but I'm really liking it already.


I'm also loving my reciprocating saw (Saw-zall). It's so easy to use. I can't believe I functioned without one for so long. I got this hole cut out in less than five minutes.

All that is left is obtaining some duct work, and hooking it all up, and I'm on to the next stage of the dining room remodel.

Tuesday, October 31, 2006

All Windows Are In

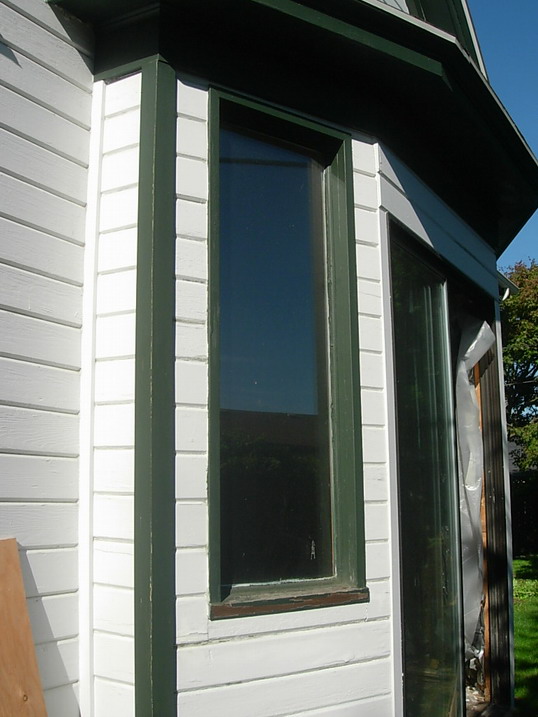
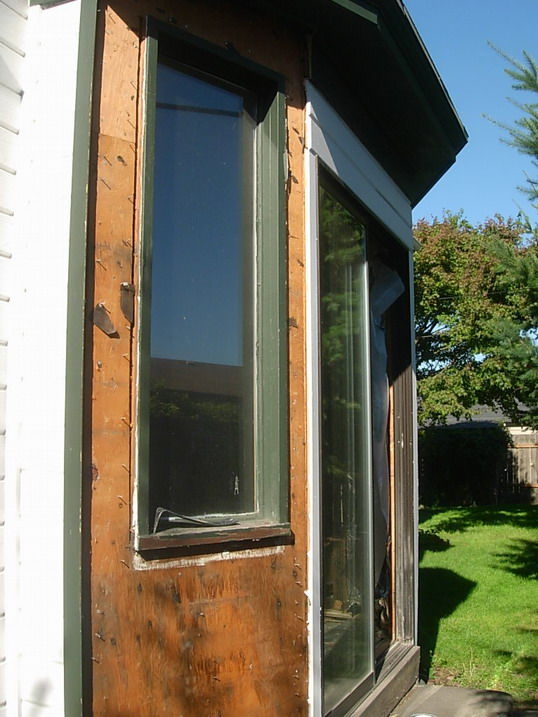
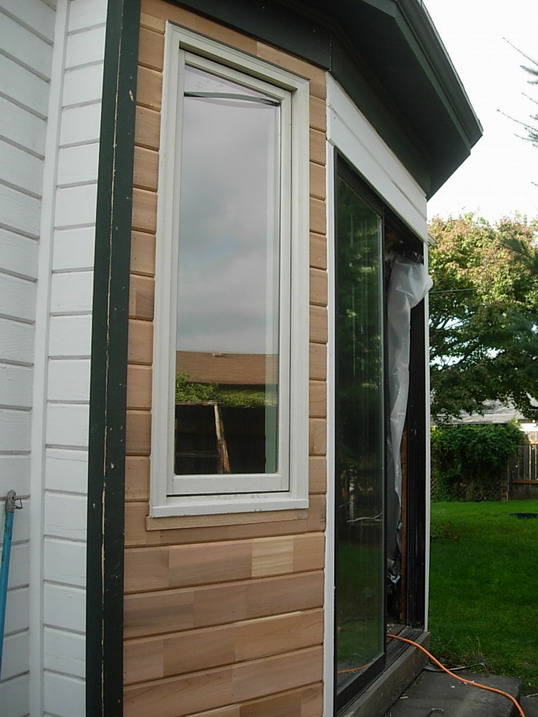
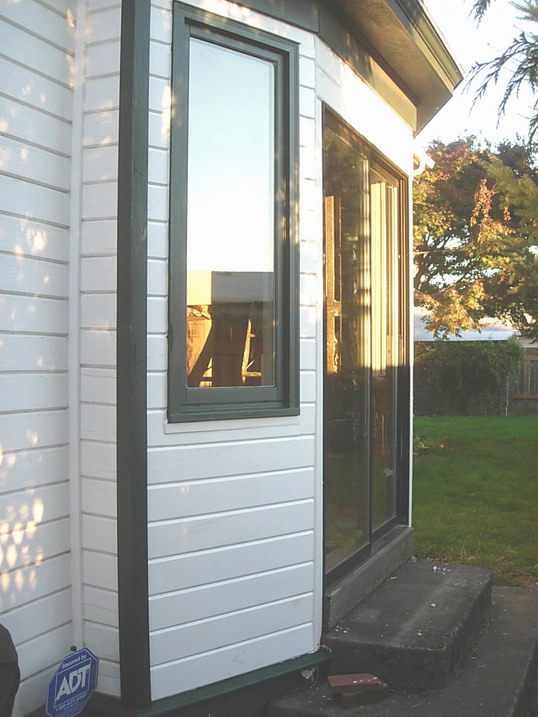
I purposely waited until the window install project was completely finish before posting any pictures. I wanted to show a series of the steps of the install and I wasn't able to finish the exterior painting until the weekend. But trust me, I was busy during the week scraping up the last of the nasty linoleum residue. Not to mention being busy drinking beer and watching St. Louis beat out Detroit in the World Series.

And that's not the only thing St. Louis has beaten Detroit out on, if you've seen the latest top 10 list...


Saturday, October 21, 2006

One Window In, One More To Go

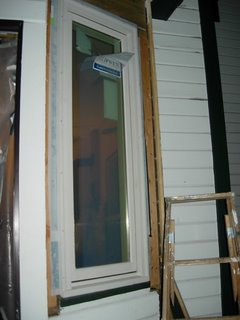
Today I spent 4 hours installing a Jeld-Wen casement window. Though it seemed fairly complicated from the 8 pages of installation instructions at first, it was really quite simple. Of course, I still have to reinstall the house wrap and siding as you can see from the following picture:

Fortunately, Portland is getting dry warm weather for the next 2 days so I got lucky. However, that brings a pretty solid east wind, which creates a slight challenge. The next window won't be so easy either. I have to rebuild the rough opening to make the inside trim symmetrical. The original windows had one window installed an inch higher than the other, plus one side of the bay window is a little wider than the other.

And this was done before crack was invented!

Tuesday, October 17, 2006

Conversation with Previous Owner

The other night I was going through my house information on the computer and came across these notes I took after speaking with the previous owners on January 20, 2001:

They bought the house in 1964 for $7500 and sold it for $18,000 sometime in the mid seventies. Today, it's listed on zillow for over $325K.

The house was heated by oil and had a tank in basement, which one time overflowed and went all over the floor. Today, it's now forced air gas and the only thing that spills is some paint from time to time.

In 1967, they installed aluminum siding. They removed the old asbestos siding and it cost them $5000. She said that the wood siding underneath is most likely in good shape as her father was good about removing rot. Today, the exterior is the original dutch lap siding that I restored in summer of 2001. I removed that same aluminum siding that they installed 34 years before.

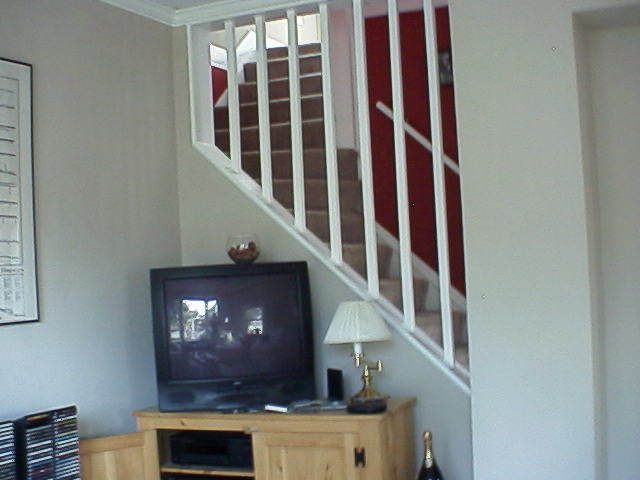
In 1969, the day man first walked on the moon, they put the sidewalk from the front door to the street in. Her kids did their hand prints and names (Tommy and Bobby?) just to the right of the front door as you’re facing it. They were the ones who opened up the staircase. They had the 50’s style cone shaped fireplace on the woodstove area. Today, it is....


The dining room was supposedly the original house. They also removed old french doors in dining room and installed the sliding door. They said they had found square nails in the door frame. Today, I'm planning on removing the sliding glass door they installed and installing french doors.

They had poured the concrete off the dining room for the patio. Today, the concrete exists but was broken up in 1999 and reinstalled with creeping thyme planted in the cracks.

The back utility room was put up by them. They also gutted and refinished the kitchen and the bathroom. There was a fire before them in the back porch area. They had dug out the basement crawl space, and they installed a roof in the early seventies but they knew someone had put the brown roof on after them. In 1997, I had to have a new roof put on. There were FOUR layers of previous roofs. The bottom being wood shingles.

There was no 6-foot fence but rather hedges all around. There was also a garage in the back. Today, it's just grass, a waterfall, and a lattice shed in the back.

In 1966, they planted the cherry tree. Today, it's HUGE.

Their kids used the attic above the kitchen as a play area and they put a floor in there. Today, it is a second bathroom and part of an enlarged bedroom.

Thursday, October 12, 2006

Day Two of Adhesive Removal

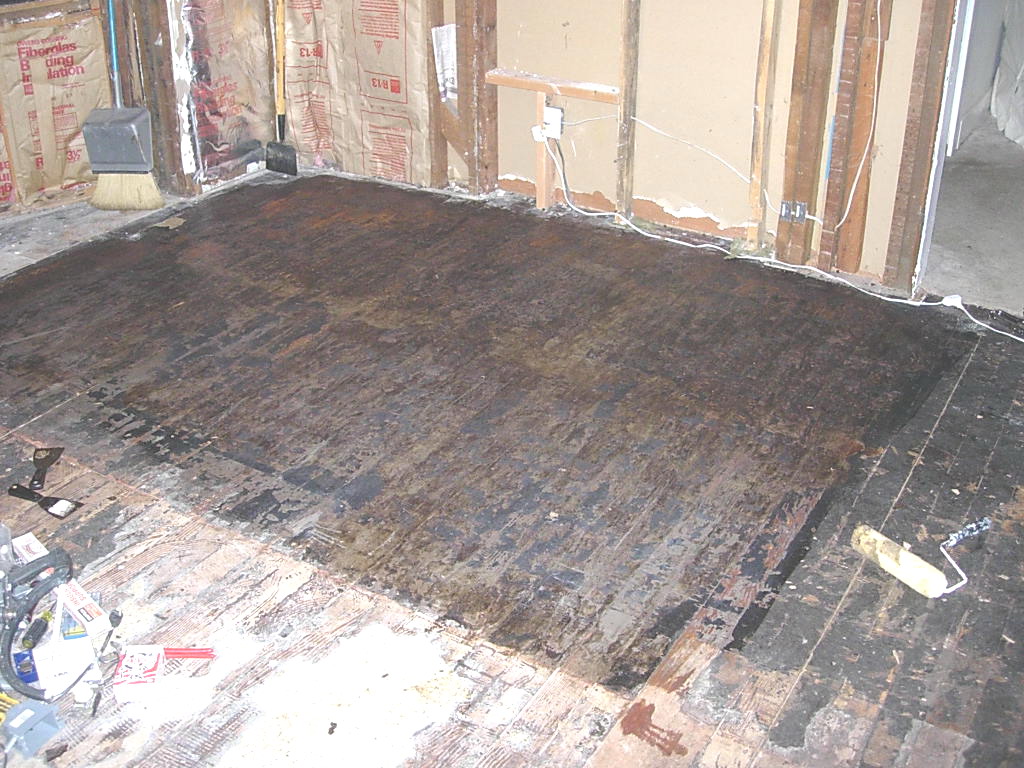
Tonight I was able to get the bulk of the adhesive removal done. It's not much to look at, but here it is:

Not all of it is coming off, so I'll have to go back and apply the nasty removal stuff in spots. Good times.

Wednesday, October 11, 2006

Adhesive Removal

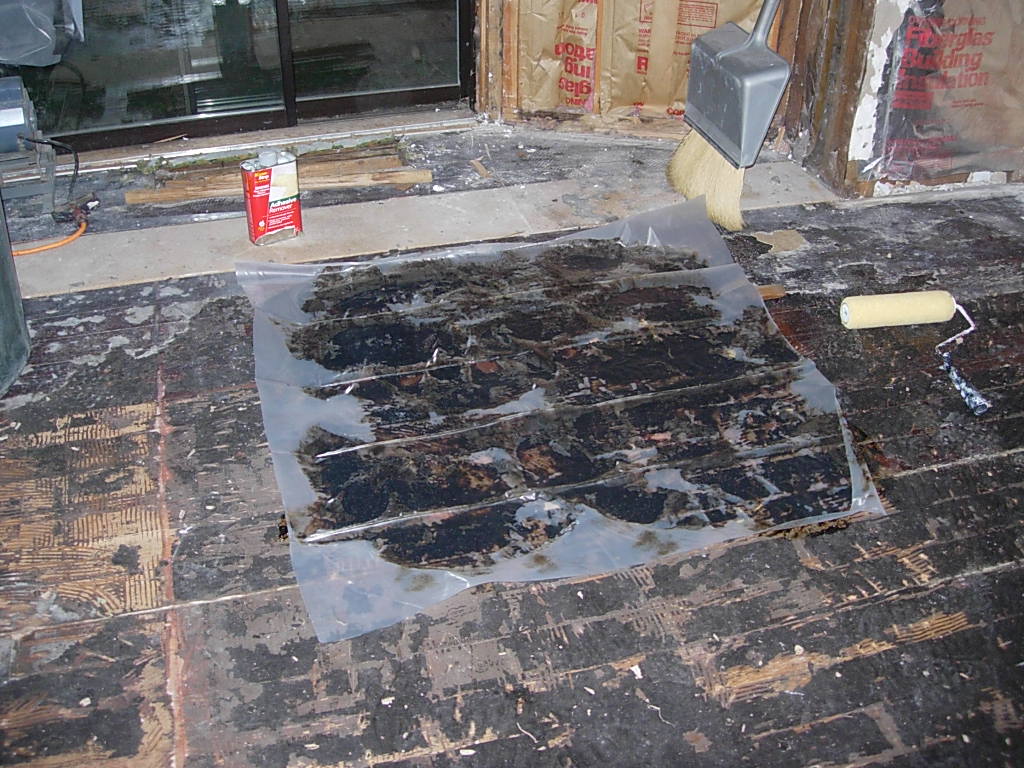
I started on removing the glue backing of the linoleum tiles tonight. And with plenty of ventilation. It seems to work fairly well, and with less labor than removing the tops of the linoleum which is nice. I just slap a bunch of some nasty adhesive removal on the backing, place plastic over it, roll it out with a brush roller and wait 30 mintues.

After the 30 minutes is up, I use a sidewalk scraper rather than a putty knife to avoid close fumes, and it seems to come up enough to get it ready for sanding.

Saturday, October 07, 2006

Just a patch to go

Here's where I am at. I thinking I can get this last patch of lovely linoleum off in a couple of hours. There is some also other little "patches" to tend to, but will be a piece of cake.


Then, it's to the gummy paper backing removal. See all that black stuff? Below it, is a beautiful douglas fir floor. I just have to keep remembering that.

Friday, October 06, 2006

Linoleum Removal

For the last five days, I've been chipping away at removing the linoleum from the wood floor, working anywhere from 1 to 2-1/2 hours per night. It's not as bad as I was expecting it to be, but it's also not that fun. Of course, it's exciting to slowly see the wood floor become uncovered. I think it will be worthwhile.


Wednesday, October 04, 2006

I'm totally going to hell

Or my house is going to burn like hellfire damnation.

I sent in my questioneer to my insurance company for the woodstove and I lied. Sort of. On the part when they asked when the stove was installed, I put “unknown” as if the stove was in already when I got the house, which isn’t true. But it’s not completely untrue either, because I have NOT installed the stove yet. And I don’t know WHEN I’ll install the stove. So, “unknown” is nearly the correct answer.

I am usually a by-the-book kind of person when it comes to structural and fire safety, but with my 4” x 8” ID chimney, there is no way I’ll be able to install a liner in the chimney, which is required by code. So, I will not get this inspected when it’s complete, because I know it won’t pass due to the lack of liner.

I questioned an inspector over the phone what the danger was with an unlined chimney and he stated Carbon Monoxide poisoning. That is certainly a danger, but with a detector, I felt it wouldn’t be worth tearing down and rebuilding a 16’ chimney. I am, however, following every other rule made by Portland code like the 1” space, non-combustible wall, hearth, annual chimney cleaning, etc.

So, I’m going to see if I can slip this through. I figured if a wood stove worked in this house at one time, why can’t it now?

Tuesday, October 03, 2006

Good Customer Service Wins

Of the 5 door and window distributors that I called, 3 of them called me back. 2 of those 3 were fairly close to where I live but unfortunately, their customer service was poor. They either didn't return specific questions regarding the doors, or just took too long in calling back. So, I finally got the door and windows ordered through Parr Lumber up on Killingsworth and MLK. They'll even deliver to the house, so the whole locality thing didn't even come into play.

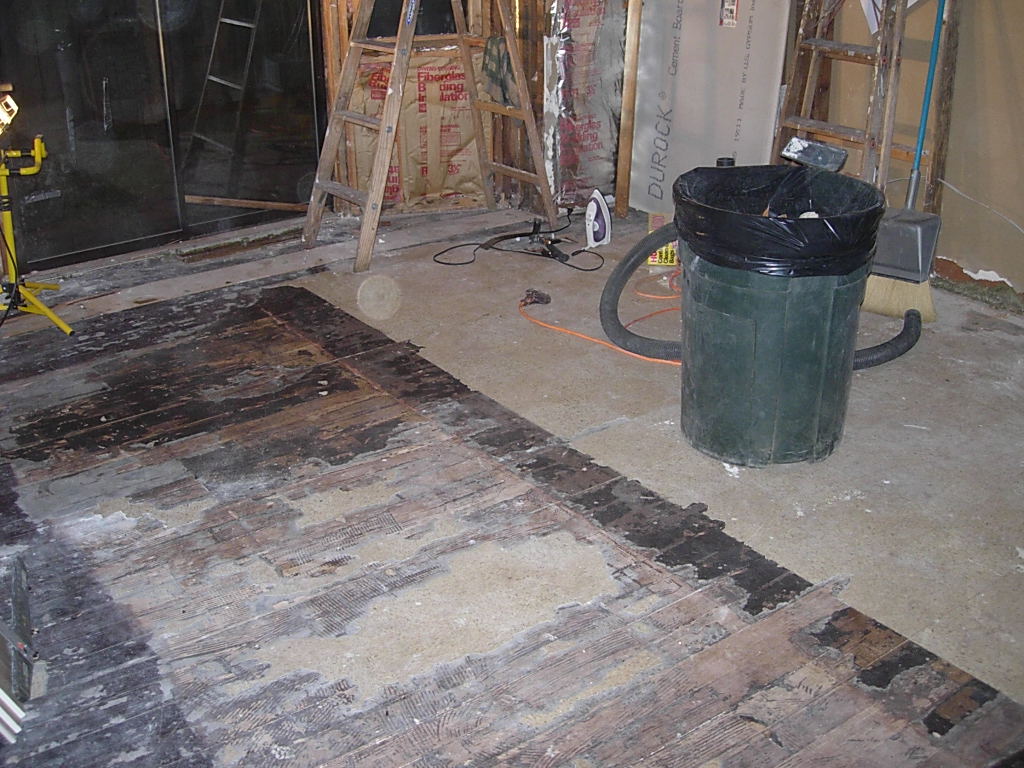
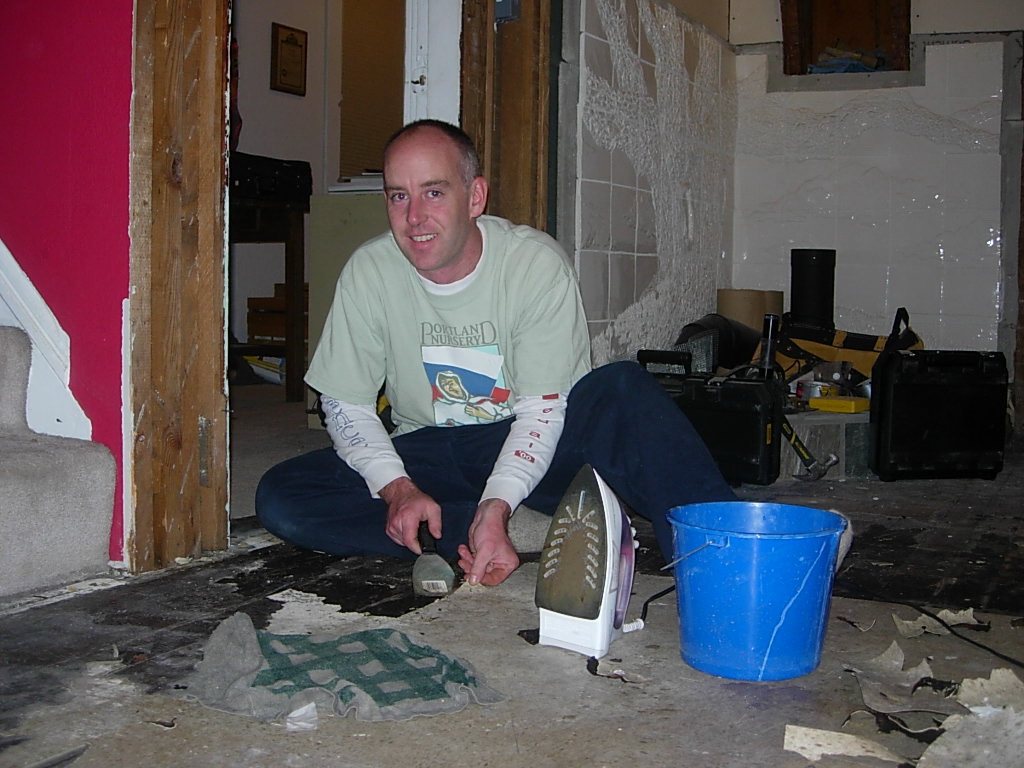
As for the current project I'm working on, the linoleum removal, it hasn't been as boring as I thought. I have 2 hours into it so far, and would expect a good 12 hours left. The process is to first try with a wonder bar that is great with removing the somewhat loose tiles. If that doesn't work, I throw a wet towel over the tile, and heat it up with an iron. Then use a putty knife to scrape the top of the tile off. Later, I'll have to go back over those sticky tiles with adhesive remover.

I expect my arms to be massively huge when it's all said and done.

Here's where I'm at as of 9pm Monday the 3rd:

Saturday, September 30, 2006

Drywall Completed.... for now

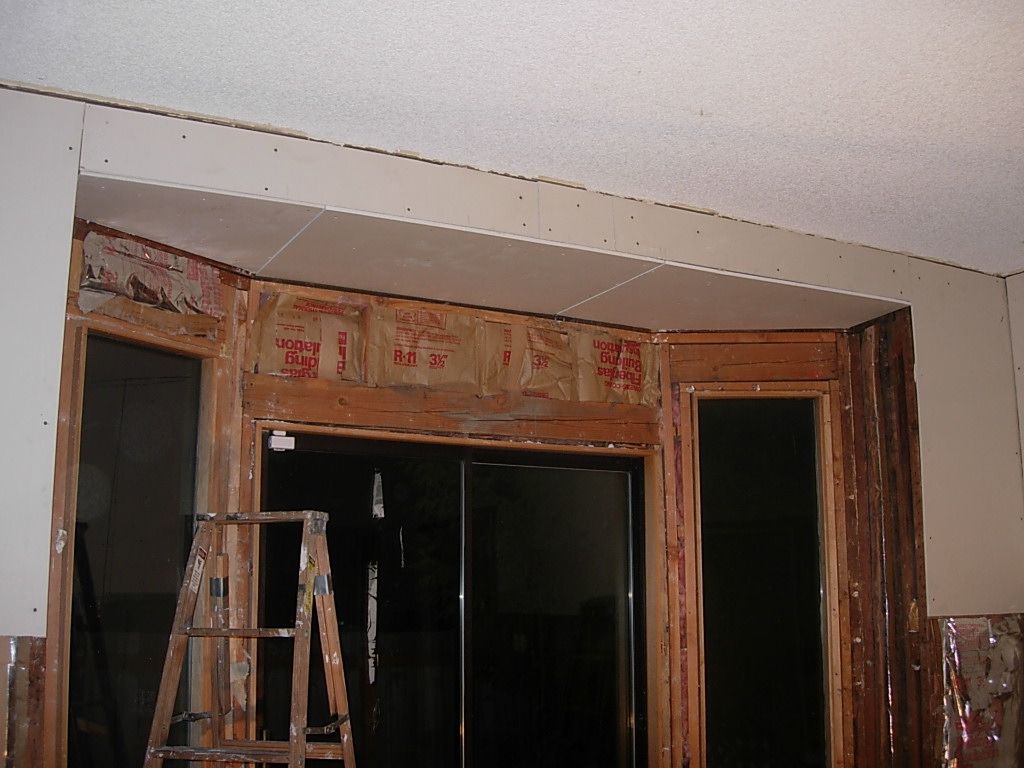
I just spent 3-1/2 hours hanging the last pieces of drywall, 2 of those hours were spent on the bay window area pictured below. With the poor framing job, some slight modifications and careful measurements had to be made. After the new windows and door openings are modified and are installed, I'll finish drywalling that area.


Next on the list is a slow removal of the linoleum stuck on the douglas fir floor. What fun that will be!