Showing posts with label panel wainscoting. Show all posts

Thursday, April 26, 2007

Priming the Panel Wainscoting

This past week I have been priming and caulking the panel wainscoting in the dining room. It's not much to post, but there has been progress. I'm taking my time since I have a few weeks before the floors are going to be refinished, but I know it'll be here before I know it.

So here's the first few stages of the priming:


I even primed my dog, Scully. Actually, she just sat on a drop cloth.


Friday, February 02, 2007

Panel Wainscoting Complete

This past week I was able to wrap up the last of the panel wainscoting install. It was just a couple of small areas, one near the stairs and one near the woodstove. And I can't even nail the cap yet near the woodstove until I figure out how to blend it in with the oak tree tile trim.

Here is the before / after scecario:

Tuesday, January 30, 2007

Transformation Of The Door View

The panel wainscoting install is still continuing. I'm current working on the small wall sections near the office door and stairs, which has been a challenge. But in the meantime, here is the view to the new French Door.

Without moulding....


Then with moulding...

(I really like before and after photos)

Monday, January 29, 2007

Small Moulding Install

On Friday evening, I cut all the small corner moulding pieces for the panel wainscoting that essentially 'frame' the panel. I was surprised how quick it went - 2 and half hours for 200 linear feet. It wasn't exactly fun, but once I got my momentum going, I just couldn't quit til it was done. Then on Saturday, I took about an hour just to nail it with my handy dandy nail gun. That thing is a huge time saver!


So here's some proof:


Saturday, January 27, 2007

Whooops!


After getting a few nice compliments on the panel wainscoting project so far, I feel I should probably fess up to a little mis-nailage that occured. Since the wainscoting cap sits on top of a 1x4, I nail (with a pneumatic nail gan) from the top to secure the cap in place. I'm not sure what happened here. I just didn't align correctly or something. I've been trying to push through, pull it out, nail it back up and it's just not budging.

So, I guess I'll just leave it as a conversational piece.

Friday, January 26, 2007

Capping the Wainscoting

This past week I have been wrestling with a twisted cap for the wainscoting. I think it added about 3 days to the entire project. Of course, these "days" consist of about 2-3 hours of work time. Last night I was finally able to make the attachment. I think I was able to straighten it out enough just by nailing on 3" centers and using a little muscle. I'm not sure if that is proper woodworkmanship. I'll let you be the judge:


Here's where the panel wainscoting project stands at this point. I still need to add the small corner moulding at the stiles, which will hopefully occur over the weekend.


Thursday, January 18, 2007

The Panel Wainscoting Begins

On Tuesday morning much to my surprise, I awoke to about an inch or two of snow. That's a big deal in Portland, Oregon and the meterologists had not forecasted it either so it was a complete surprise. Though I still went to work, it wasn't for long as the snow was still coming down pretty heavy and it was obvious the roads weren't going to clear themselves. So, I took a snow day which translates into productivity in the dining room remodel.

After a 2 hour adventure at Mt Tabor with Scully, I was able to start in on the panel wainscoting. I had the wood stove blasting away as well as some good tunes, and just really enjoyed the afternoon "off" creating the following:


I still need to add the cap as well as some other moulding but it's a start. I was pretty amazed by how much is changed the feel of the room so I'm all the more motivated to complete the rest of the walls. Pray for snow!

Tuesday, January 16, 2007

Let The XP180 Be Your Guide To Horizontality

Pretty tough looking little guy, isn't he? But with a name like XP180, how can you NOT be?

For Christmas, my brother Ed bought me this "Cross Line & Laser Plumb". I finally made use of it this evening with the start of the panel wainscoting (pictures tomorrow).


So, here it is in action (be careful not to stare at the laser too long):


Tuesday, November 28, 2006

A Tight Fit

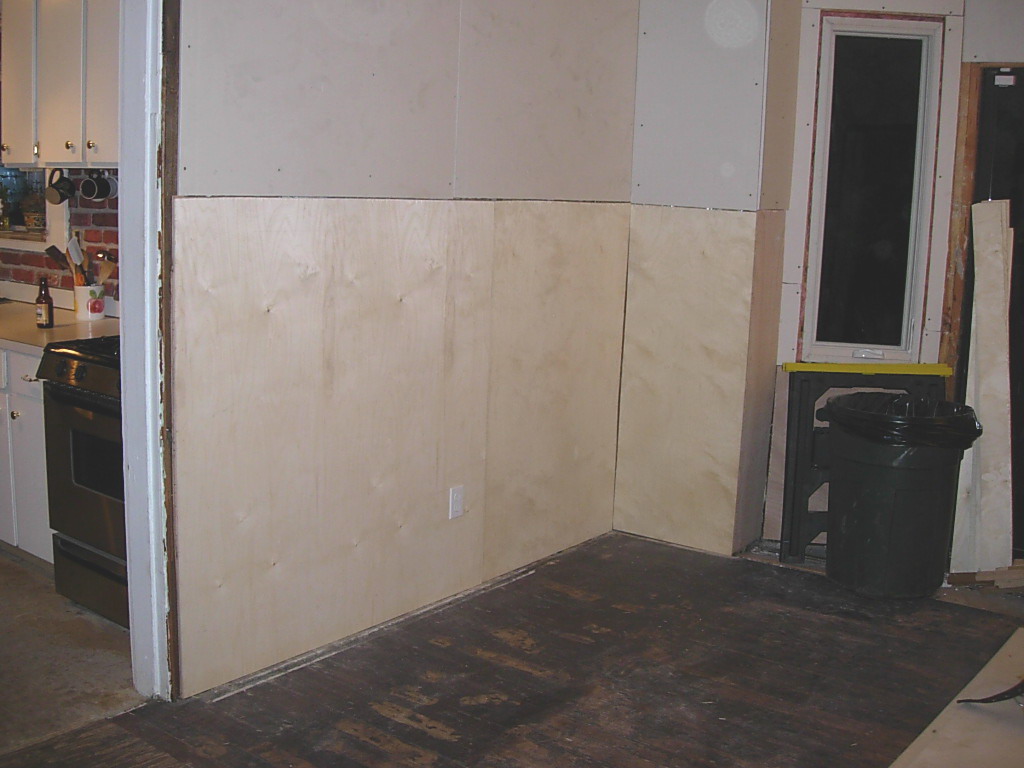
This past Sunday, I attached the finish layer panels to the panel wainscoting. Now, it's ready for the stiles and cap molding and baseboards to be attached. Though it's not much to see, here's a picture of the north wall of the dining room so far:


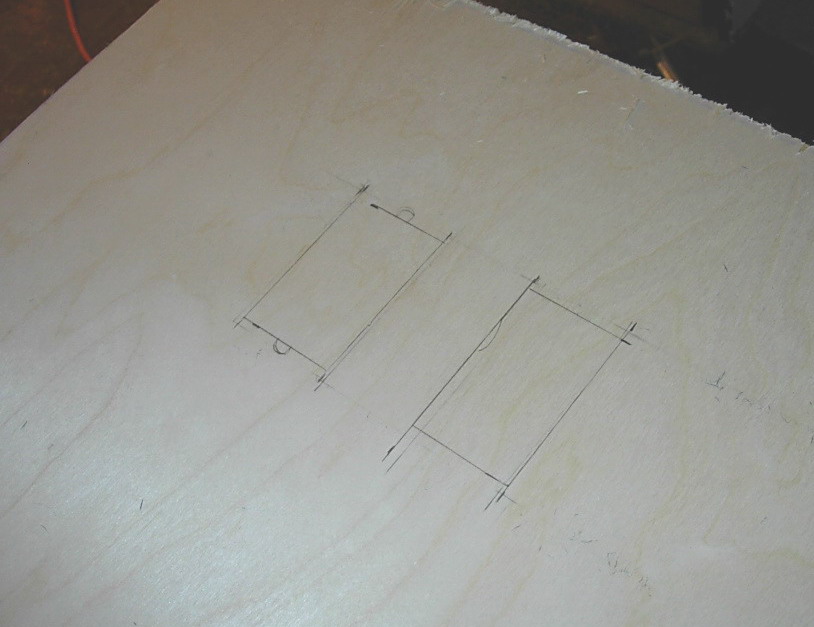
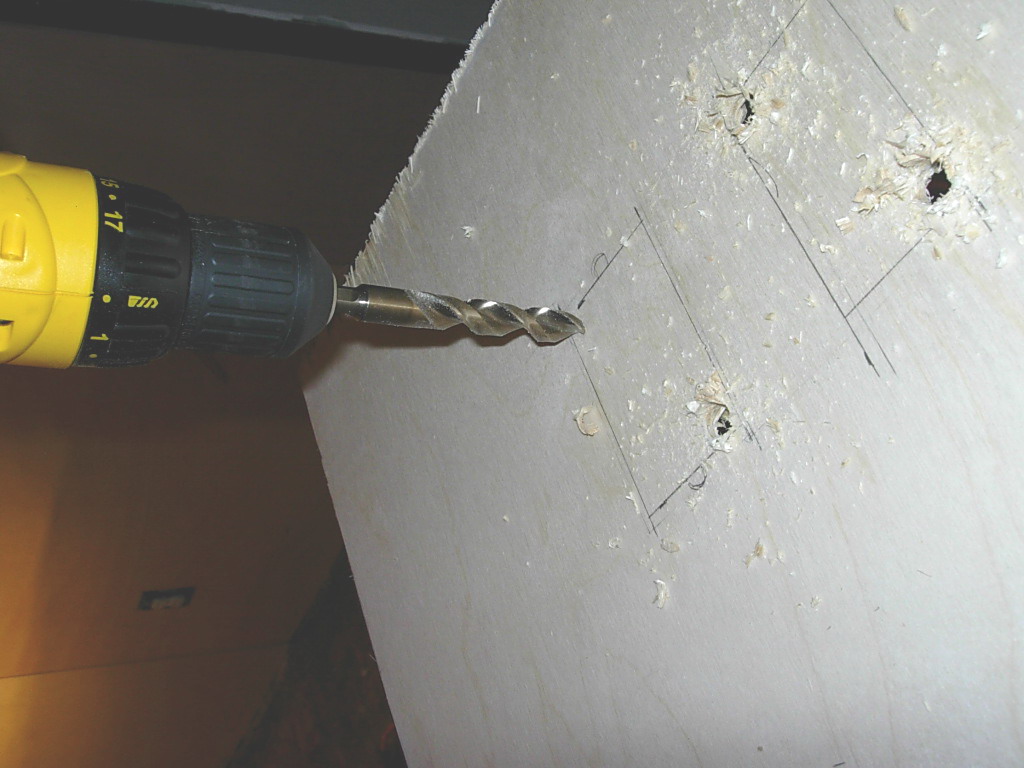
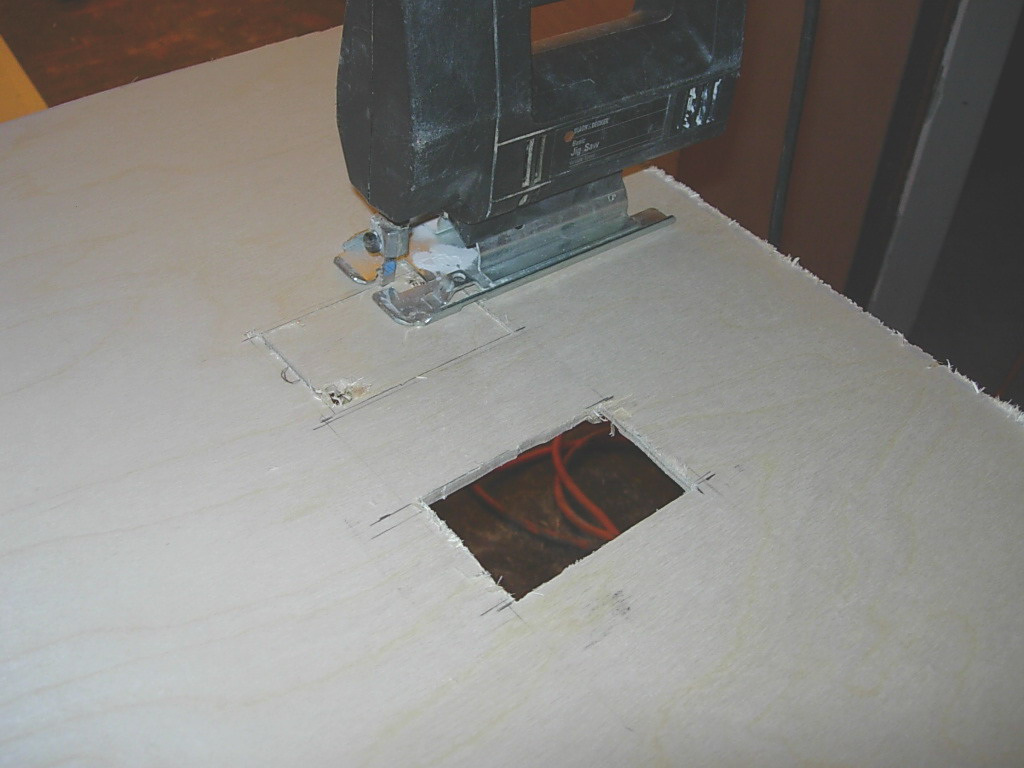
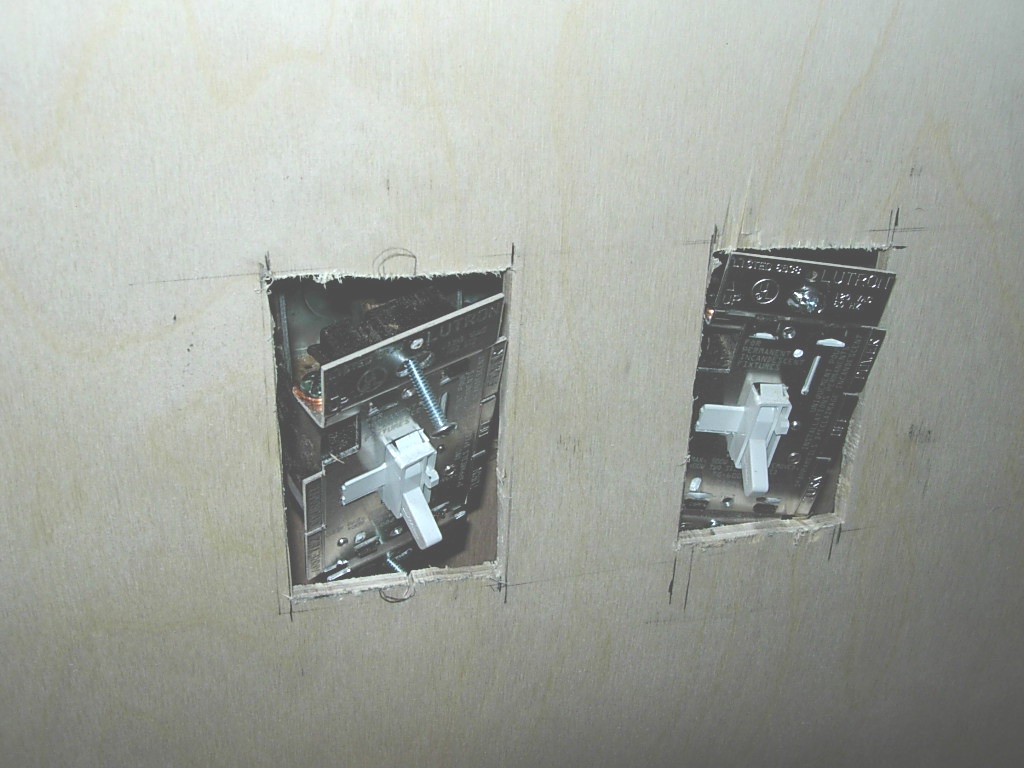
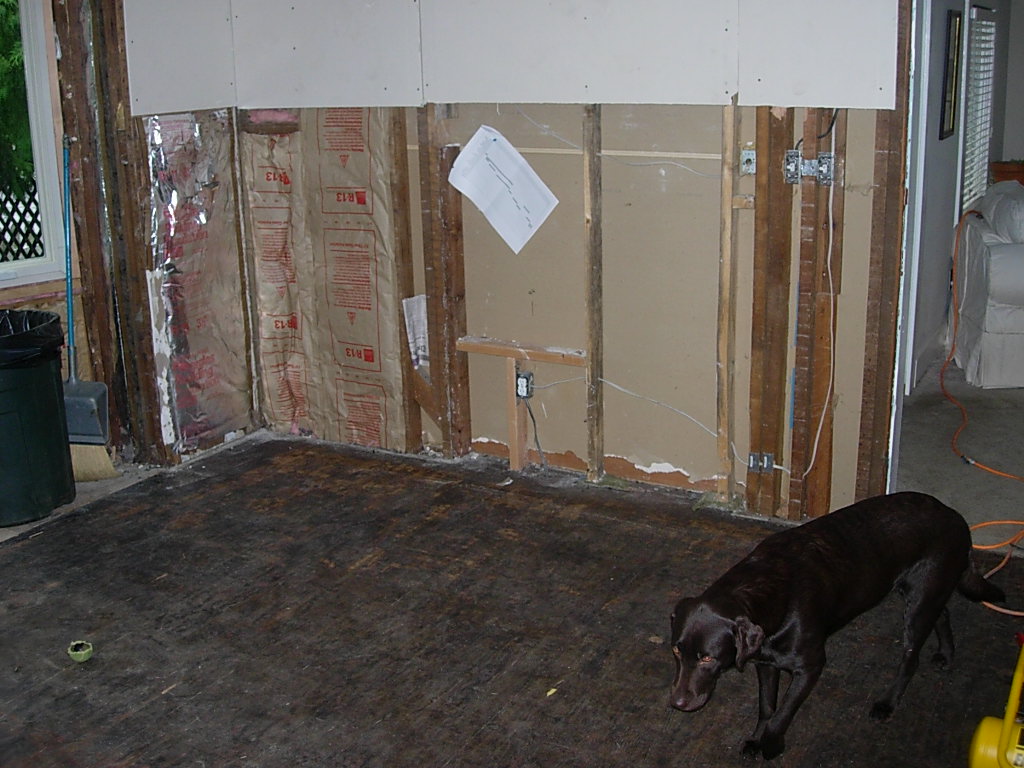
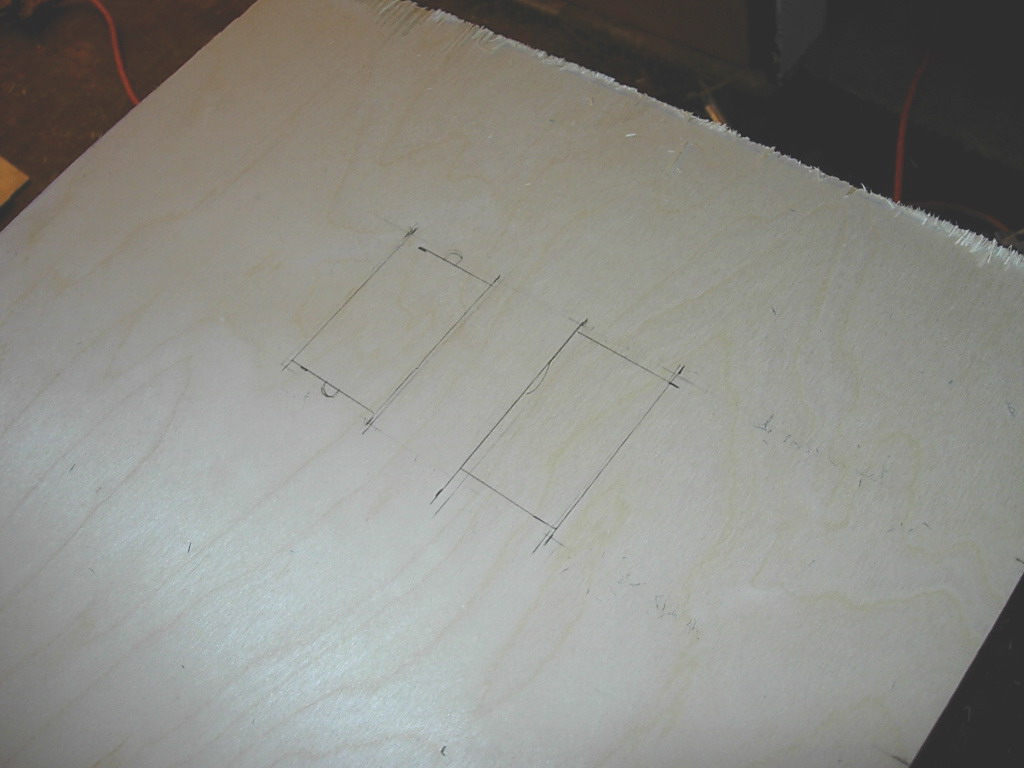
This biggest challenge to applying the finish panel is locating the openings for the outlets and switches in the panels. The challenge is that there isn't much room for error. Particularly the switches because since they are dimmers, the front face is nearly the size of the cover plates. I knew there'd be no way to cut the openings that precise, so I opted to disconnect them, and feed them through openings which were sized smaller for the electrical box to fit through. Here's a series of photos, in case I lost you:


Sunday, November 26, 2006

Pneumatic Nail Gun

With the start of the panel wainscoting, I have ventured into a new realm of remodeling - the pneumatic nail gun. It is really amazing how much it moves the work along. I figured it would and thought that this stage of the dining room remodel would justify buying one, but my expectations have been exceeded. Having said that, the tool is also pretty intimidating. Something about turning the compressor on and watching the gage climb up to 150 psi. That is a lot of pressure. I don't think that I'm so worried about backfire from the nail gun. But then again, maybe I am because everytime the compressor kicks on, I sort of jump.

Here's a picture of me within the first 15 minutes of using it. If I look relaxed, it's because the picture's totally staged.

Saturday, November 25, 2006

The Panel Wainscoting Has Begun

I've taken advantage of this 4-day weekend by getting a good jump start on the panel wainscoting. So far, I've just placed the first layer of plywood up to serve as "nail anywhere" surface for the actual panels. Since my studs have odd centers, I wanted to be able to hide any seams or nails with the stiles.

Before:


After: