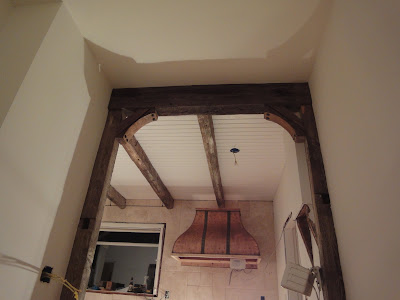
Who knew throwing some tile up for a backsplash would take so long? I have been immersed in the backsplash since the start of February that I sort of forgot about this blog. Now it's time for catch up...
The first step was create a point of attachment for the
copper hood. I didn't want to waste tile that would sit behind the hood and not be seen, so I cut out a plywood template that would in turn allow for easier hood to wall attachment.
The next step was cement board attachment which for wall tile applications, 1/2" thick board is required. There are quite a few varying cement board products out there but Durock was by far the easiest to use - lightweight, inexpensive, and cuts as easy as drywall.
Now for the fun part: cutting the travertine to match the shape of the hood. I have a simple wet tile saw that's good for straight cuts but for outlet openings and curves I needed something else.
 I purchased this italian travertine tile on closeout from Oregon Tile and Marble and got a great deal. When I went back to get thin set and some other advice, it turned out that one of the workers was trying to unload his RotoZip on Craigslist. Perfect. This was exactly what I needed. It was only$40 so I thought I got a great deal, until I had to buy the diamond bit for cutting the tile. That was $40 too.


And the finish...


