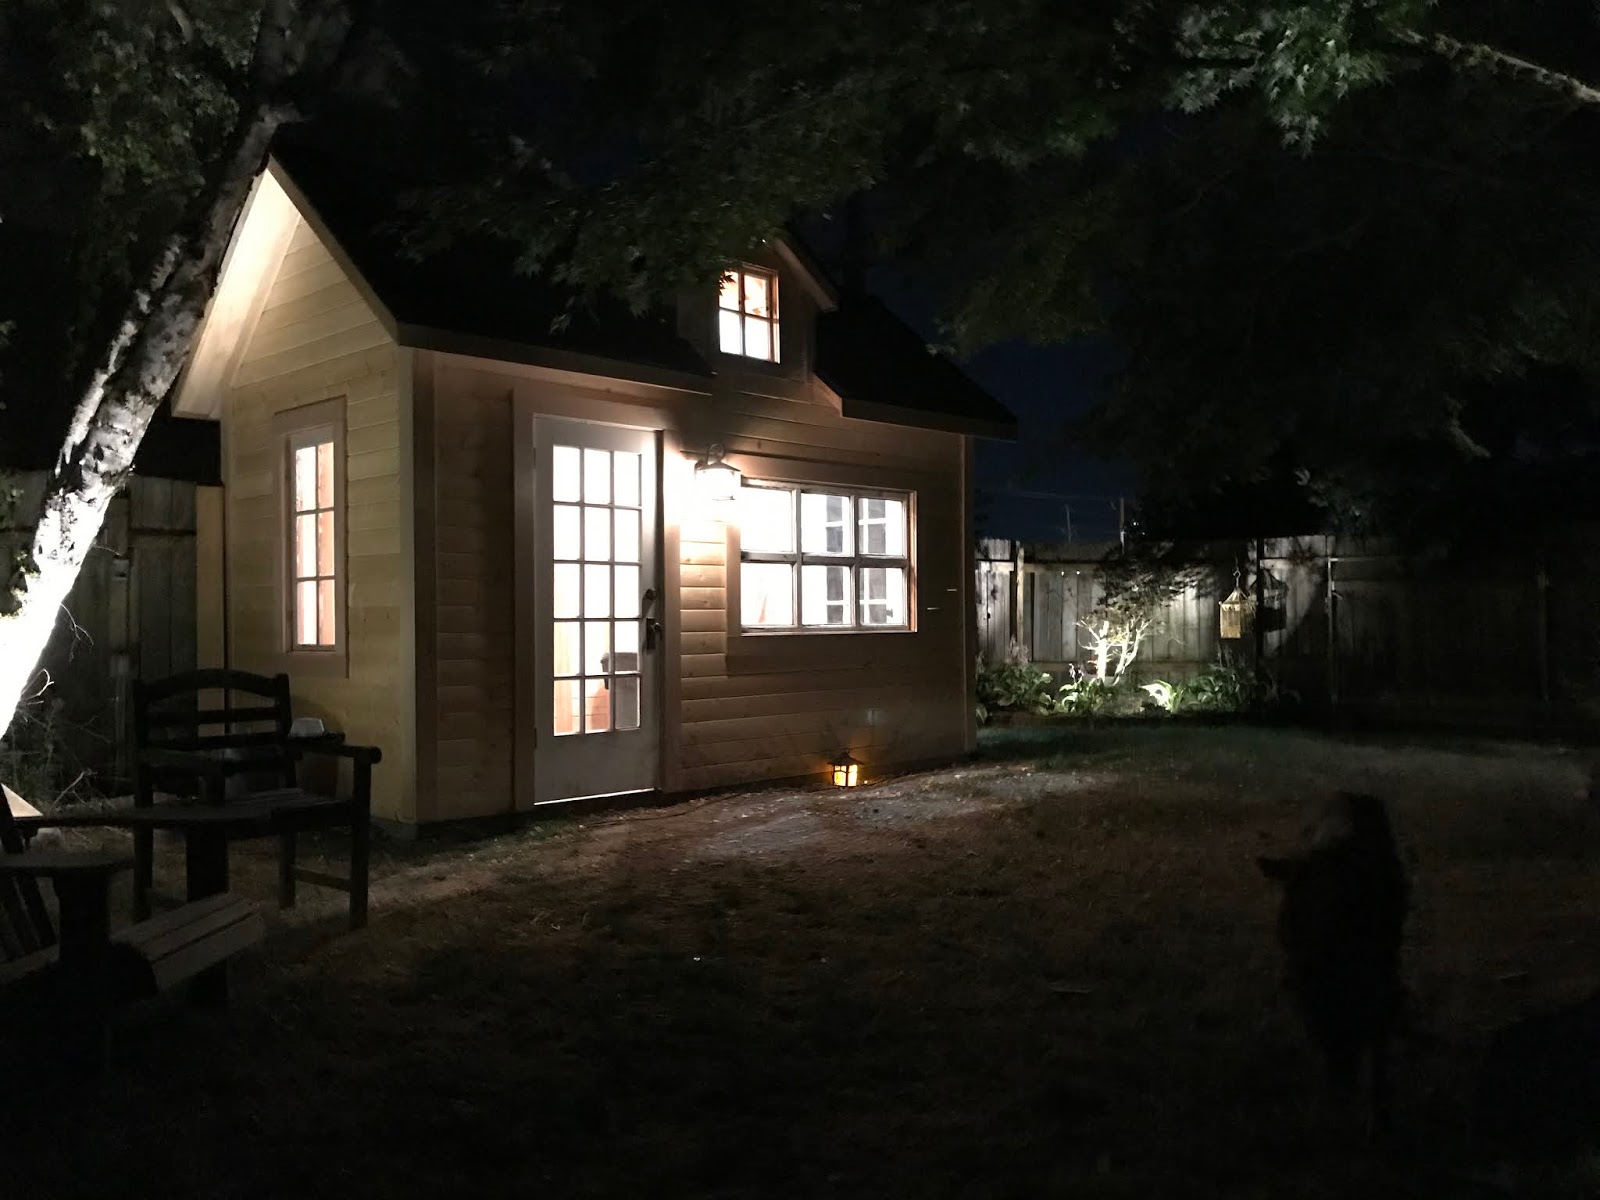
Wednesday, September 30, 2009

Firewood Manger

Holy Smokes! I can't believe it's been nearly a year since I've touched this blog. I'm surprised I remembered my password to access it. It's not that I've been lazy. Really. Just nothing blog-worthy. However, with the cool rain quickly approaching, I got busy with a little project of building a roof to keep my firewood dry. I also like the cedar shake look - like a cabin in the woods.


Here's the shelter in progressive assembly. It took about four hours and weighed a ton. I don't expect my fence to hold more than a month.


Labels:

Tuesday, December 23, 2008

Snow!


For about a week, Portland got it's share of the winter blast that the rest of the country went through. Though it's a bit of a pain, looking back it was a quite fun. I spent more time on Mt Tabor than ever and even got to snowboard down the east and west face, not to mention the roads! It's always best when it's in your backyard.


Scully got her share of exercise too. Here she is, trudging through the 2 foot drifts. Check out the video of her playing with her neighbor Sophie.


video
Of course snow is not all fun and games and being on a corner lot, my arms got a bit of a workout. I don't even own a snow shovel.


Labels: ,

Sunday, December 07, 2008

Christmas Tree


A couple of years ago, I had the guts to hang icicle lights from my gables, 20'+ from the ground. It looked so cool and I really wanted to do it again this year. Sort of. Mom hinted it wasn't such a great idea now that I'm "pushing 40". Moms are pretty smart. Not only that, it was a reasonable excuse NOT to go to all the trouble.

For this year, I headed out to the Mt Hood National Forest with a friend to cut down my own Christmas tree. At first it seemed so wrong, but upon learning the Forest Service provided permits for $5, I was on board with it.

So here it is....not sure why type. Maybe Hemlock? Spruce? Whatever it is, it smells great!


Labels:

Saturday, November 29, 2008

Dahlquist Art

My original piece from Chris Dahlquist back from Labor Day 2007 finally got some friends. And just in the nick of time. These are created by a Polaroid print onto a sheet of aluminum, and they stopped making Polaroid film! What a drag for Chris. However, this will surely squeeze out another creative medium from her.

Being on aluminum, these are not exactly easy to photograph so be sure to check out her website to see what these are really supposed to look like.

Labels: ,

Friday, November 28, 2008

Pub, Skye


This picture was done by a friend of mine, a fellow fiddle player, upon her trip to Scotland. She was in a pub in Skye on a pretty dark dismal day, when suddenly the sun broke through the clouds. She immediately got her pastels and created this great picture. I am huge fan of the constrast from sunlight to dark clouds, and the colors work perfect for my den. I was stoked when I got this picture hung. Thanks Andrea!

Labels: ,

Monday, September 29, 2008

Picket Fence Paint

The long awaited chore of painting the picket fence has finally happened. It's only been about 10 years since it's needed a painting...

Here are some before shots:


And a couple of shots after pressure washing:

And the grand finale:


Labels:

Saturday, August 02, 2008

Front Rock Wall Part Three

The last and easiest part of the rock wall project. Planting. I went to Portland Nursery which I knew was fairly spendy but figured it'd be worth it.


Labels:

Raspberry Bush

A friend on mine has a raspberry bush that's growing pretty frantically and offered some cuttings of it to me. Since I'm a huge fan of that berry and transplants always seem to work best, I was all over the offer.


I chose this location in my yard since it was readily close to an existing irrigation system and had lots of sun. Unfortunately, I think was a former driveway or something. Note the pick axe to break through the gravel/soil. Not to worry, I left plenty of growth room.


Labels:

Sunday, July 27, 2008

Front Rock Wall Part Two

After getting the rock wall established, the next step is to create a foreground which is mostly as a mowing separation from the grass to the wall. Here is a pile of chips that will be place in a concrete/sand mixture, then mortared in.The first step is to dig out about 7" to 8" deep for a gravel base in front of the rock wall: I poured the gravel in place 4" deep, leaving about 3" to 4" for 2" of concrete/sand mix depth plus thickness of the chips:

Deviating from the concrete instruction to wet first then place the rock, I found it worked much better to place the concrete mix dry then place the chips, then wet it. Since the chips were fairly thin, I felt the concrete would hold them a bit better if they were already somewhat sunk in. Completion! Overall it was actually very easy to do. For some reason, I expect anything with concrete or mortar to be a challenge and everytime I work with it, I'm surprised how easy it is.


Labels:

Sunday, June 22, 2008

Front Rock Wall Part One

There's a house up on the east slope of Mt Tabor (a few blocks from me) that inspired me to take on this summer project of recreating the front landscape. That's the reason for the previous posts of moving the rhodadendrun and butterfly bush, and finishing the front to back separation fence. They told me the crew they hired took most of the summer to build the dry stack landscape wall. Rather than use mortar, the rocks are placed on top of one another and fitted to match the contour of the shape created.

The first step is to create the desired contour using a garden hose:


The hose is flexible enough to bend and such, but also remains at place when it's time to dig out the shape created:


Here is the first layer of rock placed. It was from the original rock wall that I threw together a few years ago. I wish I would have taken before picture because it looked really lame:


Progress so far. There's still a lot to do


Labels: ,