Sunday, February 20, 2011

Copper Hood Install

Now with the backsplash completed, the copper hood can finally be installed. This also clears up more floor and storage space. That plywood template that I cut out made it super easy to screw to. There will be a base underneath it that encloses the actually exhaust system, to be later installed.


This weekend also lent the opportunity to stain and install the bracing for the headers. They're really not structural but create a cool rustic look. I even used wrought iron nails to install them. It's a small detail that goes a long way.


Wednesday, February 16, 2011

Kitchen Backsplash

Who knew throwing some tile up for a backsplash would take so long? I have been immersed in the backsplash since the start of February that I sort of forgot about this blog. Now it's time for catch up...

The first step was create a point of attachment for the copper hood. I didn't want to waste tile that would sit behind the hood and not be seen, so I cut out a plywood template that would in turn allow for easier hood to wall attachment.


The next step was cement board attachment which for wall tile applications, 1/2" thick board is required. There are quite a few varying cement board products out there but Durock was by far the easiest to use - lightweight, inexpensive, and cuts as easy as drywall.


Now for the fun part: cutting the travertine to match the shape of the hood. I have a simple wet tile saw that's good for straight cuts but for outlet openings and curves I needed something else.

I purchased this italian travertine tile on closeout from Oregon Tile and Marble and got a great deal. When I went back to get thin set and some other advice, it turned out that one of the workers was trying to unload his RotoZip on Craigslist. Perfect. This was exactly what I needed. It was only$40 so I thought I got a great deal, until I had to buy the diamond bit for cutting the tile. That was $40 too.


And the finish...


Friday, February 11, 2011

Liebherr Fridge

Back in September, a mere 5 months ago, I started the appliance shopping. I didn't have a definitive budget but after the salesperson showed me the Liebherr with a price tag of over $8000, I knew that's NOT what I wanted to spend.

Until they realized they had (2) 24" side by side on close out, for over 60% off. It was still a lot of money to spend, but I couldn't pass it up.

This last Wednesday it was delivered and that evening I skipped my backsplash install fun to install the trim kit. It is such a nice refrigerator.


Wednesday, February 02, 2011

Kitchen Drywall

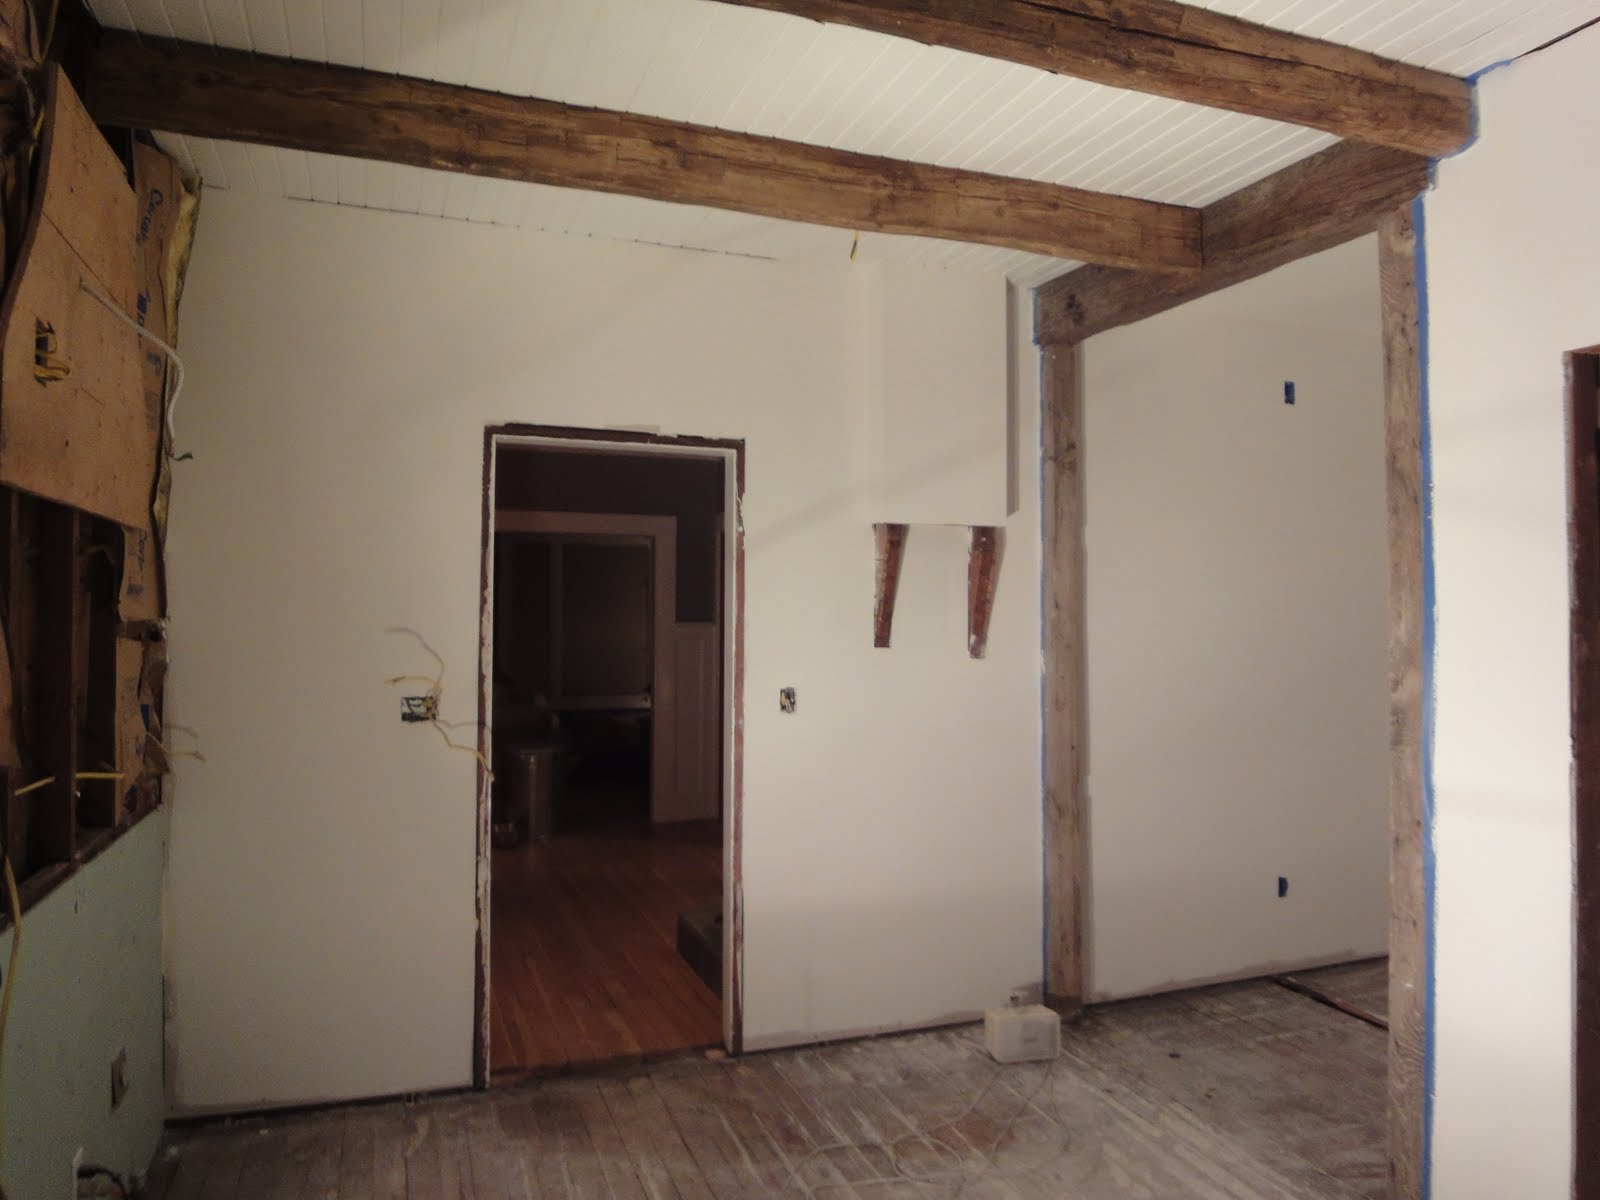
What a difference drywall makes. The kitchen is now really starting to take shape.

Although I'm doing most of the work myself for the overall remodel, there are 3 things that I've hired out: plumbing, drywall, and cabinetry. I feel these are best left to the professionals. So far, I've been very successful. Alternative Drywall hung the sheetrock and applied the first mud in probably 5 hours, then came back the next day and applied the second mudding and primer. I was very impressed and the detail around the beams is great. If it were me, I'd still be haggling with hanging. I highly recommend these guys to any of you Portlanders out there.


First Mudding...


And the finale....


Friday, January 28, 2011

Kitchen Ductwork

With the pantry door installed and the drywall next on the list, it was time to get heat to the kitchen. Heat will help the drywall guy in faster drying times with the drywall finish. There's not a whole to running ductwork but I still felt like a hack. Fortunately (and surprisingly), no blood was shed in dealing with the shards of metal. Previous ductwork projects sent me scrambling to the band aid department.

I buy my goods at Vinje & Son. Nice folks but spendy. They are also 2 blocks from me which is kind of handy. I had them fabricate 3 boxes to connect the round duct to so it speeds up the installation and it's all custom made. I actually screwed up and forgot about the extra reinforcement I did in the bathroom floor so I ended up "rebuilding" the box as shown here.


Scully. Spying on me:


All done. Shiny duct work.


Monday, January 24, 2011

Pantry French Doors

As mentioned in a previous post, remodels never seem to be contained in the same room that they were intended to be in. Adjacent rooms always seem to pulled into the surge of improvement. Now that the bathroom door was moved down towards the pantry, it now interefered with the location of the existing pantry door. Henceforth, a need for a new pantry door was born.

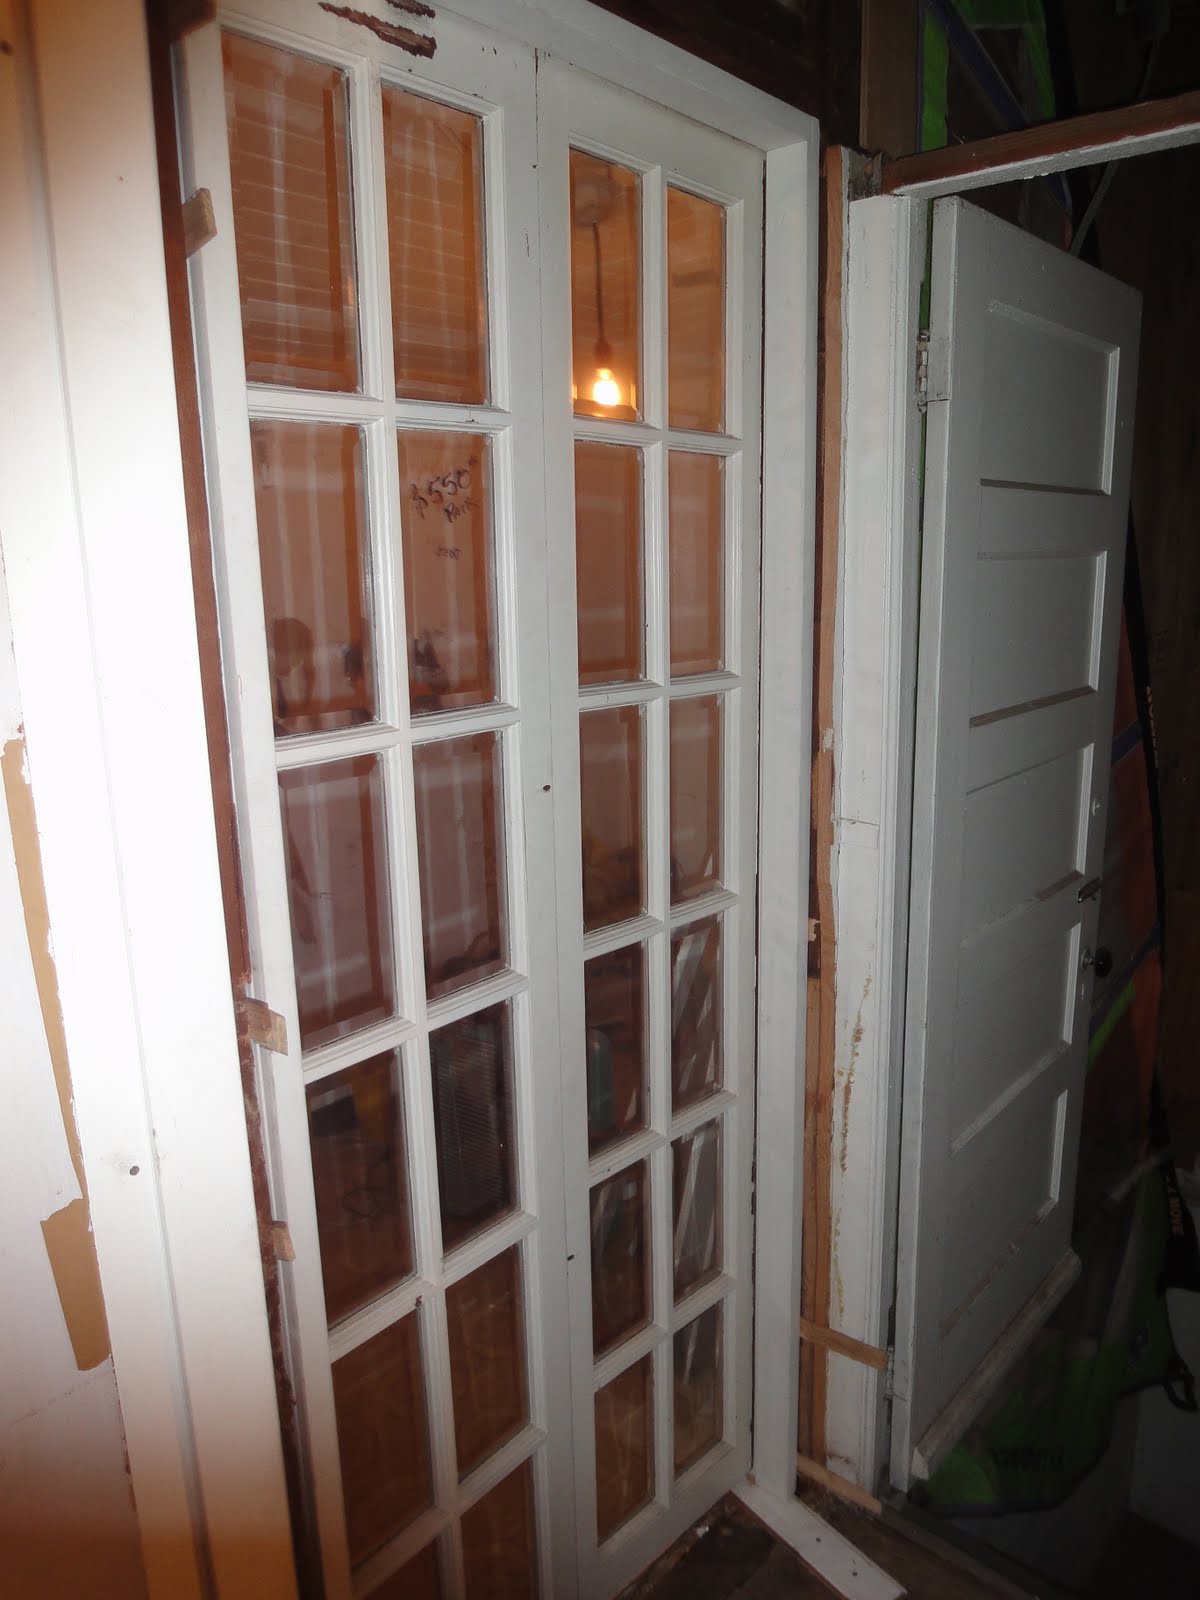
With the layout of the kitchen & bathroom, the pantry door now needed to swing IN to the pantry. With the narrow-ness of the pantry, I thought it best for mobility in the pantry if there were two small doors (french doors), rather than one 30" wide. Several months ago, I came across these doors in an antique/salvage store in Portland and knew I had to have them, though I would not need them anytime soon.

Here's a cell phone snapshot of the doors in the store.


I didn't think about taking any before shots until I was well into the work. I first started out trimming the door down a half inch on each side, then a good 4" from the bottom. I was fortunate to have the door remain intact after all that removal.

After the trim down, when I went to install the door jamb, the framed doorway seemed to be racked, I assume by the brunt of the east winds that batter the house. In order to get the jamb level, I need to cut away a bit of the door frame. Hack job.


A close up of the mortise job for the hinge on the door:


After 17 hours of door size modification, door frame notching, shimming, jamb leveling, mortising, more leveling, planing, and sanding, the doors are in and working!


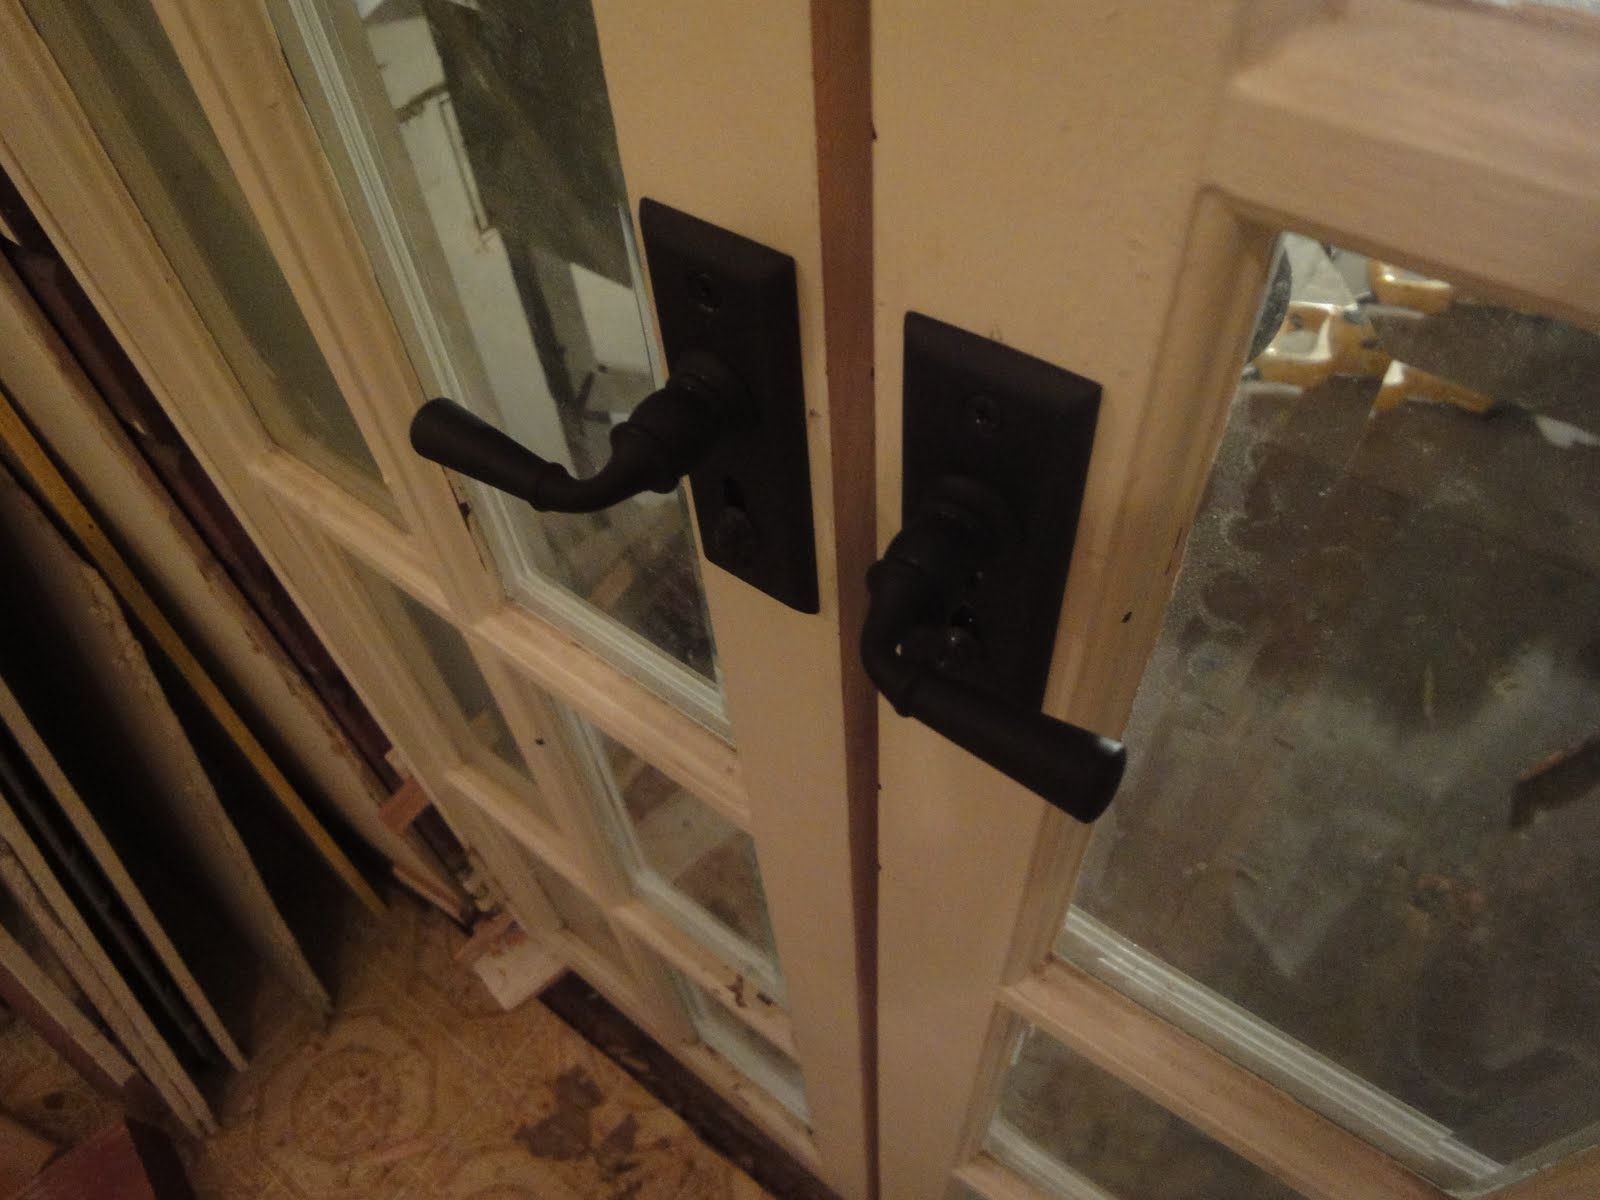
The last step was adding the door hardware, which I got from Rejuvenation. Since there's not a whole lot of room, I used knobs that would normally be used for a screen door, along with some ball catches at the top. The only thing left to do is gasket and a repaint.


Monday, January 17, 2011

Pantry Lighting

Maybe it's common occurrence among other remodelers, but it seems when I do a fairly substantial size remodel, it tends to bleed into other rooms. When I did my dining room remodel for example, I ended up repainting and reflooring my den/family room, simply because it was next to the dining room. The kitchen + bath remodel is having the same effect. I'm redoing the pantry.

It's not a major deal but definitely is taking some time. So far, I've just added needed lighting to replace the fluorescent fixture. I got this raw fixture at Rejuvenation along with the replica bulbs. I wired them to have a 3-way switch and also added conduit. I'm digging the industrial look.

Future plans for the pantry are to add open shelving and really get it organized, along with installing another window to peer in at the waterfall.