Friday, January 28, 2011

Kitchen Ductwork

With the pantry door installed and the drywall next on the list, it was time to get heat to the kitchen. Heat will help the drywall guy in faster drying times with the drywall finish. There's not a whole to running ductwork but I still felt like a hack. Fortunately (and surprisingly), no blood was shed in dealing with the shards of metal. Previous ductwork projects sent me scrambling to the band aid department.

I buy my goods at Vinje & Son. Nice folks but spendy. They are also 2 blocks from me which is kind of handy. I had them fabricate 3 boxes to connect the round duct to so it speeds up the installation and it's all custom made. I actually screwed up and forgot about the extra reinforcement I did in the bathroom floor so I ended up "rebuilding" the box as shown here.


Scully. Spying on me:


All done. Shiny duct work.


Monday, January 24, 2011

Pantry French Doors

As mentioned in a previous post, remodels never seem to be contained in the same room that they were intended to be in. Adjacent rooms always seem to pulled into the surge of improvement. Now that the bathroom door was moved down towards the pantry, it now interefered with the location of the existing pantry door. Henceforth, a need for a new pantry door was born.

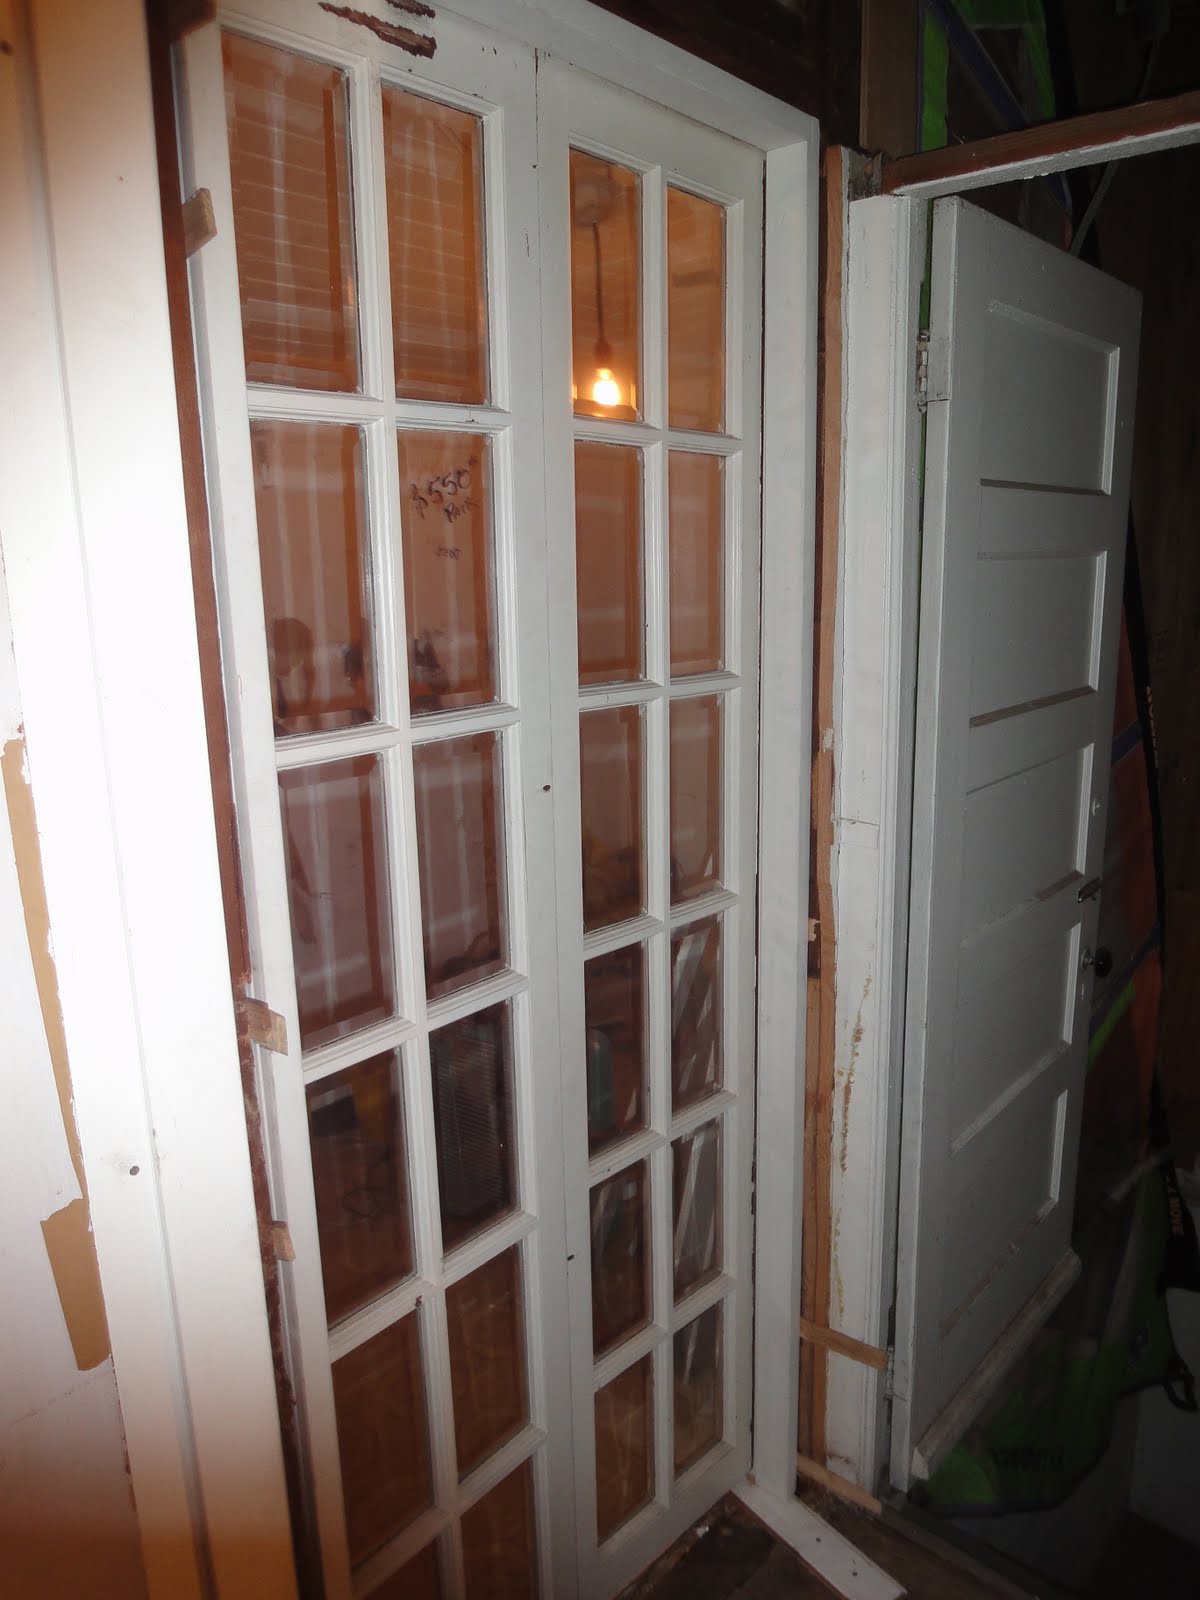
With the layout of the kitchen & bathroom, the pantry door now needed to swing IN to the pantry. With the narrow-ness of the pantry, I thought it best for mobility in the pantry if there were two small doors (french doors), rather than one 30" wide. Several months ago, I came across these doors in an antique/salvage store in Portland and knew I had to have them, though I would not need them anytime soon.

Here's a cell phone snapshot of the doors in the store.


I didn't think about taking any before shots until I was well into the work. I first started out trimming the door down a half inch on each side, then a good 4" from the bottom. I was fortunate to have the door remain intact after all that removal.

After the trim down, when I went to install the door jamb, the framed doorway seemed to be racked, I assume by the brunt of the east winds that batter the house. In order to get the jamb level, I need to cut away a bit of the door frame. Hack job.


A close up of the mortise job for the hinge on the door:


After 17 hours of door size modification, door frame notching, shimming, jamb leveling, mortising, more leveling, planing, and sanding, the doors are in and working!


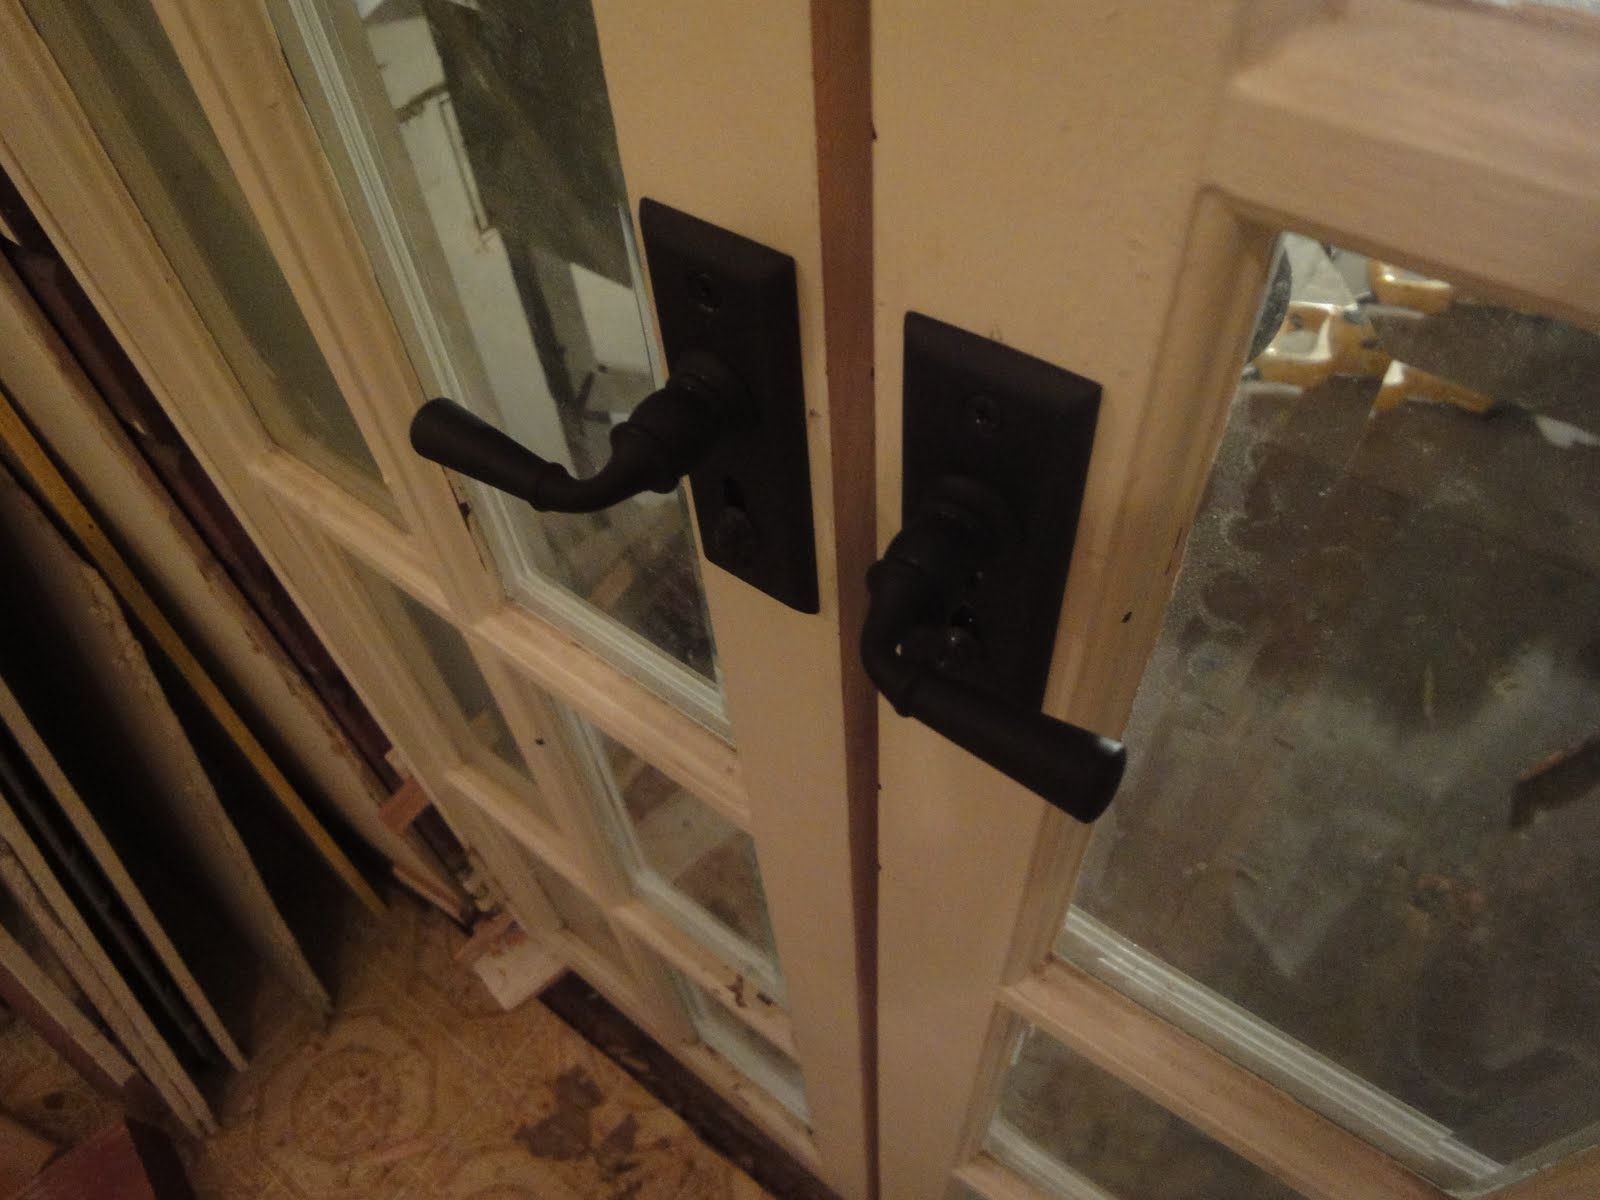
The last step was adding the door hardware, which I got from Rejuvenation. Since there's not a whole lot of room, I used knobs that would normally be used for a screen door, along with some ball catches at the top. The only thing left to do is gasket and a repaint.


Monday, January 17, 2011

Pantry Lighting

Maybe it's common occurrence among other remodelers, but it seems when I do a fairly substantial size remodel, it tends to bleed into other rooms. When I did my dining room remodel for example, I ended up repainting and reflooring my den/family room, simply because it was next to the dining room. The kitchen + bath remodel is having the same effect. I'm redoing the pantry.

It's not a major deal but definitely is taking some time. So far, I've just added needed lighting to replace the fluorescent fixture. I got this raw fixture at Rejuvenation along with the replica bulbs. I wired them to have a 3-way switch and also added conduit. I'm digging the industrial look.

Future plans for the pantry are to add open shelving and really get it organized, along with installing another window to peer in at the waterfall.


Saturday, January 15, 2011

Hand Hewn Timber Beams

The moment I've been waiting for. Installing old timbers as "beams" to create a rustic feel for the kitchen, which will later be contrasted by clean white glass mullion cabinetry. I can't wait to see it all together but this was the first step.

All in all, it went pretty smooth with only a few challenges as every project must unveil. There are a total of five and these "beams" do nothing that a beam would usually do structurally, other than look cool. They were purchased at Aurora Mills Architectural Salvage and I was told they came from an old barn in Southern Oregon.


The hand hewn, or rough hewn, helps the old timber look even more rustic as if it's been sculpted. The lower exposed part of the beam is actually the rounded part of the tree.


The bleach container seen at the bottom was for killing off the algae that developed after sitting in the Oregon rain.


The big challenge was the mortise and tenon to join the beam that ties into the header. The mortise part took a good hour or more of chiseling out. I even came home on my lunch break, just to knock some of it out to make it less tiring to do in the evening. The tenon was a piece of cake, actually pretty fun.


Here's the tenon part. The first picture is marking out what needs to be chiseled away. I made cuts in to the beam with my circular saw to help move it along. The last picture is the end result of the tenon, or at least before I had to round up the corners to get it to fit. Whoa! How'd that beer get in there???


Here's what the final mortise and tenon joint ended up as. It's doesn't get more 19th century...


Monday, January 10, 2011

Ceiling 1x4s

Although the electrical is not quite wrapped up, due to some circuit adjustments and outlet additions, I could still move on to the next step in the list which is adding the ceiling 1x4s. These were purchased at Mr. Plywood and I choose rough cedar for a more rustic look. I primed them on the floor prior to install to alleviate some of the over the head painting. This was another project that the nail gun was a HUGE help.

I'm very happy how these turned out but I think the old rustic hand hewn timber beams will take the spotlight. Stay tuned for those...


Tuesday, January 04, 2011

Electrical Check

I got some great news this morning. I asked a licensed electrician to come and do a pre-check of my wiring before moving on any further. I didn't quite pass because I did some code violations. Nothing major, or anything that would burn down the house, just that some lights were on the same circuit as the outlets. The other mistake I made was that I did not place enough outlets per the 4 foot rule on the countertop. I knew of this rule, but ignored it thinking I personally didn't need all those extra outlets. I decided to go by the book and add them.

It will certainly be a bit more time on top of what I've already put in (3o hours), but the best part is that I know I will have done it correctly. My original estimate of the electrical was way off - 16 hours. As it turns out, that electrician confirmed that my actual hours are pretty good. She thought my project would have been a 2 man - 3 day job. Wow! That's 48 hours!

And the best part is that I saved over $4,000....

Friday, December 31, 2010

Wires, Wires, Wires!

After running the wires in the lower bathroom, I knew I was in for a massive project with the kitchen due to the amount of dedicated circuits and lighting needs. In my Gantt Chart, I blocked away 10 days, gave myself 16 hours and estimated about $125 in materials. So far, (and I'm still not done) I have taken about 30 hours and spent about $260.

Though the pictures might not show much to you, seeing all the yellow wiring (I used 12 GA for everything regardless of 15A or 20A) really brought the new kitchen closer to reality. I'm having a qualified electrician come check my work prior to covering the walls with drywall. I'll probably do a second check once everything is connected, just to be safe.


Here's a shot of the ceiling boxes. I'm going to have 3 levels of lighting - low nightlight type lighting in cabinets, medium overhead lighting with fixtures from Rejuvenation, and high level task lighting over the counters by means of modern rail lighting hung from old hand hewn rustic beams.


Wiring in the breakfast nook/cove/snug. I'm going to have the outlet halves controlled by switch, so I can have lamps also provide lighting.


The wall boxes for a couple of Rejuvenation sconces


One 3-way switch for the pantry lighting:


The wires on the left are for the low level lighting rope lights that will go at the base of the copper hood. In the middle is wiring for the exhaust liner and the wiring on the right is for the low level and high level light switches:


Wednesday, December 15, 2010

Header and Posts

The theme of the new kitchen is angled more towards a "french country" style so lots of rustic materials will be implemented. The rustic design concepts started with a brick inlay floor with reclaimed full 2x4s, then faux timber beams were added. After the breakfast nook idea was born, there was a need for support of the joists above. It was back to Aurora Mills to find some big beefy timber.

Here are the posts getting sprayed with bleach water to kill the moss that grew on the timbers as they were stored outside:


After speaking with a structural engineer, he guided me to use 4x4s underneath the posts with a concrete block to spread the load since I don't have reinforced concrete in the basement floor. Try not to look at my messy basement, please:


I lucked out with the post location. Check out this tight fit next to the gas line:


I'm no woodworker (as you can see by the direction the chisel is aimed) but I wanted a keyed type fit for the header to sit on the posts. It might be called a "simple mortise & tenon"? Here I am notching out the header:


After nixing the idea of using human strength to support the header while the posts were installed below due to the chance of the header getting away and falling, I rented a drywall jack from my neighbors across the street. Good folks, they are.


The final result. Header and Posts.
It's not that impressive at this point because of all the other lumber around but once the drywall is installed, it will stand out more. I think the contrast from rough and old to clean + crisp makes a killer look