Showing posts with label woodstove. Show all posts

Saturday, December 01, 2007

Wood Stackage

This rainy and cold afternoon in Portland was spent outside chopping wood to smaller more usable firewood for the woodstove. After being on the road from St. Louis to Portland for 4 days of driving, it felt great to get out and get some exercise. As I write, it's burning away. Well, sort of. It's a little wet.
Here's the remaining part of the half cord of wood that I split with my neighbor:
And here's Scully with her "cousin" Dooley, just moments before she had to spend the next several days on the road. She did great and was quite the trooper.

Friday, May 04, 2007

Chimney Base Cover

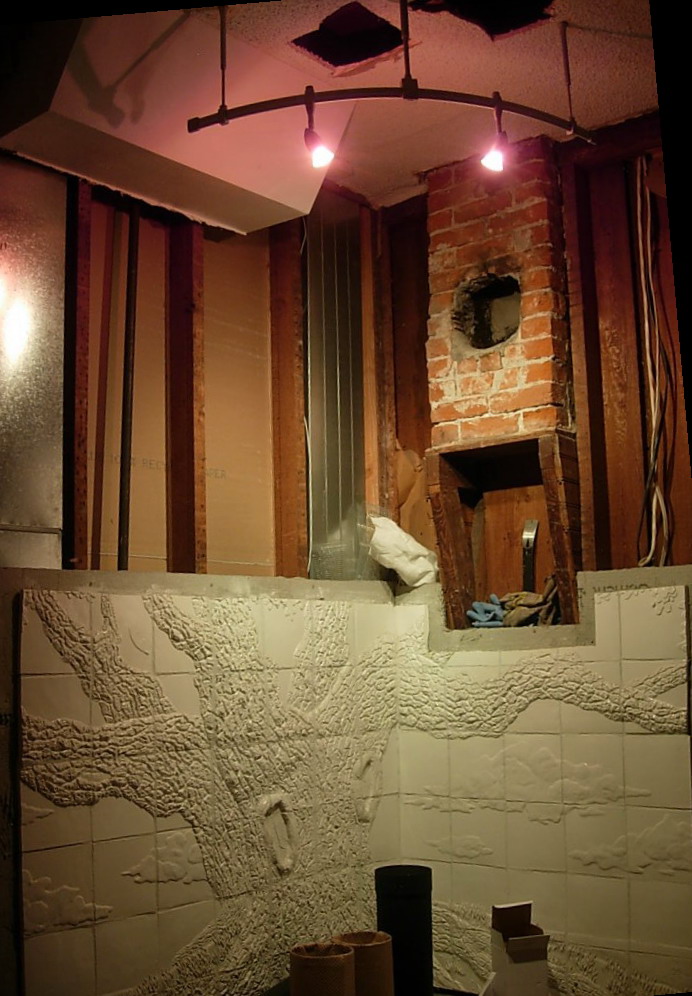
It's frightning to think that my 20' high brick chimney is supported by this wood frame work, but it must be doing the job correctly, since it's supported it for over a hundred years.


One of the last details is figuring out how to cover this. I can't use drywall or any other combusible material, so I decided to use leftover tin ceiling material, particularly the filler since it's a simple design pattern that shouldn't be too distracting.

Here it is after being primed and installed. Hopefully it won't look as stiff as is it does in this picture after I get it painted. Incidently, just today I obtained several paint samples to decide on the final paint color for the dining room.

Tuesday, November 21, 2006

I've Graduated From Lathes


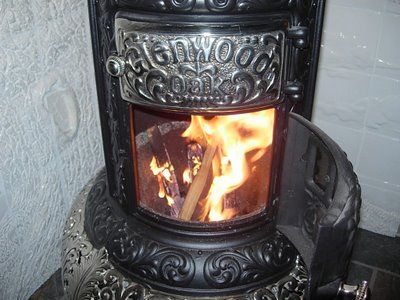
Last Sunday I completed the final touches to the stove pipe install, which consisted of a proper connection to the stove itself with an adapter, and stuffing some fire resistant insulation between the brick chimney and floor. It was now time to make real fire.

I started with some lathes and everything was going great until I had about 6 or 7 lathes really blazing. All of a sudden, smoke started pouring out of the top as if there wasn't enough draft. But how could that be when I had started it slowly? Regardless, I threw a couple of cups of water on it to control it and started over slowly. Very slowly.

Last night, I got the courage to put some real logs (big boy wood) on after warming up the chimney with some simple lathe burnage. It went well for the most part, but there was a moment when it really got going and the whole smoke leakage started up again. This time I was able to control it with the front dampers. With the odd smell of the smoke, I'm wondering if it's just a 'break-in' smell, like of paint burning, and not a draft problem. Time will tell.

Regardless, I'm really having a blast with this new stove. Adjusting the dampers and watching the fire react is really cool.

Friday, November 17, 2006

Wood Stove Is Online

Almost online, anyway. I still need to get an adapter for the stove to the pipe. It's currently just being held by a tight fit. So tight that I can't get it on far enough to drive screws to secure the connection. Here it is in mid rope insulation:


My first burnable material - lathes from the old walls.


Here's a glimpse of the flames. I still can't verify for sure how good the draft will be. The small amount of newspaper was a-roarin' but the lathes never really took to it. I need to get some good firestarter blocks.

Wednesday, November 15, 2006

Crack!

I have found a few cracks in my chimney that I am about to hook up my wood stove to. I am not using a liner due to the ID of the chimney being only 4-1/2" x 8-1/2". From speaking to City of Portland inspectors, the dangers of not having your chimney lined lies mostly with carbon monoxide poisoning. However, I'm not UNcomfortable with this since I have carbon monoxide detectors and I will only being using the wood stove on an occasional basis. Like during those 5 really cold days in the Pacific Northwest.

But should I be worried about this type of small crack?

Monday, November 13, 2006

Danger, Danger, Danger!


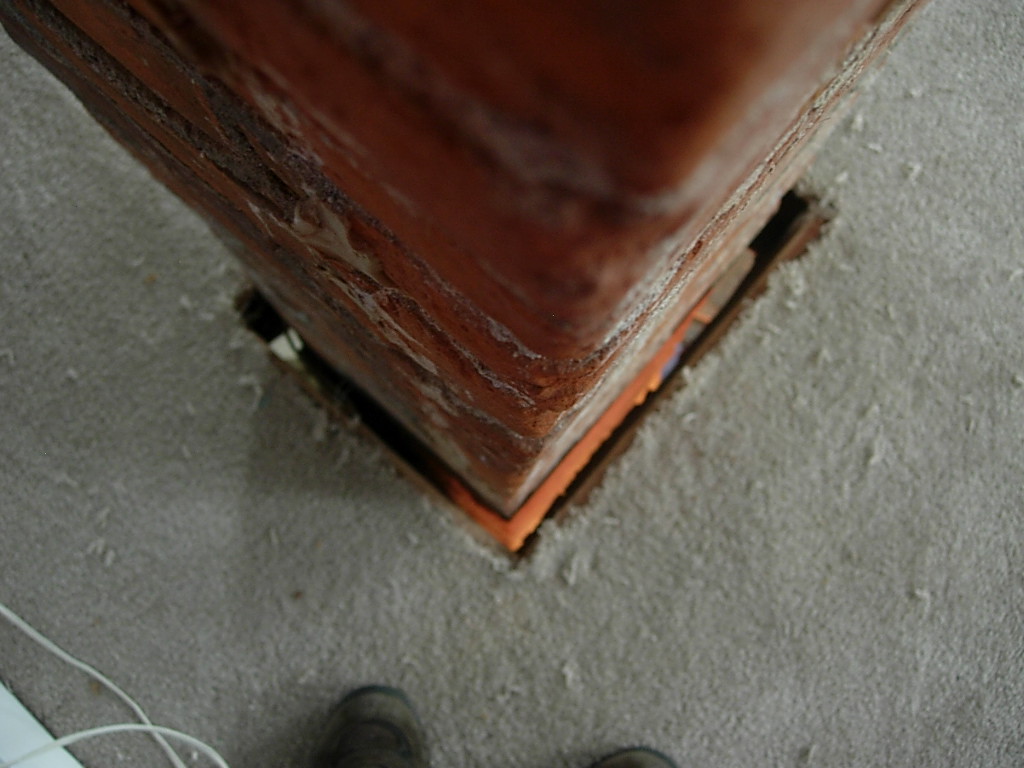
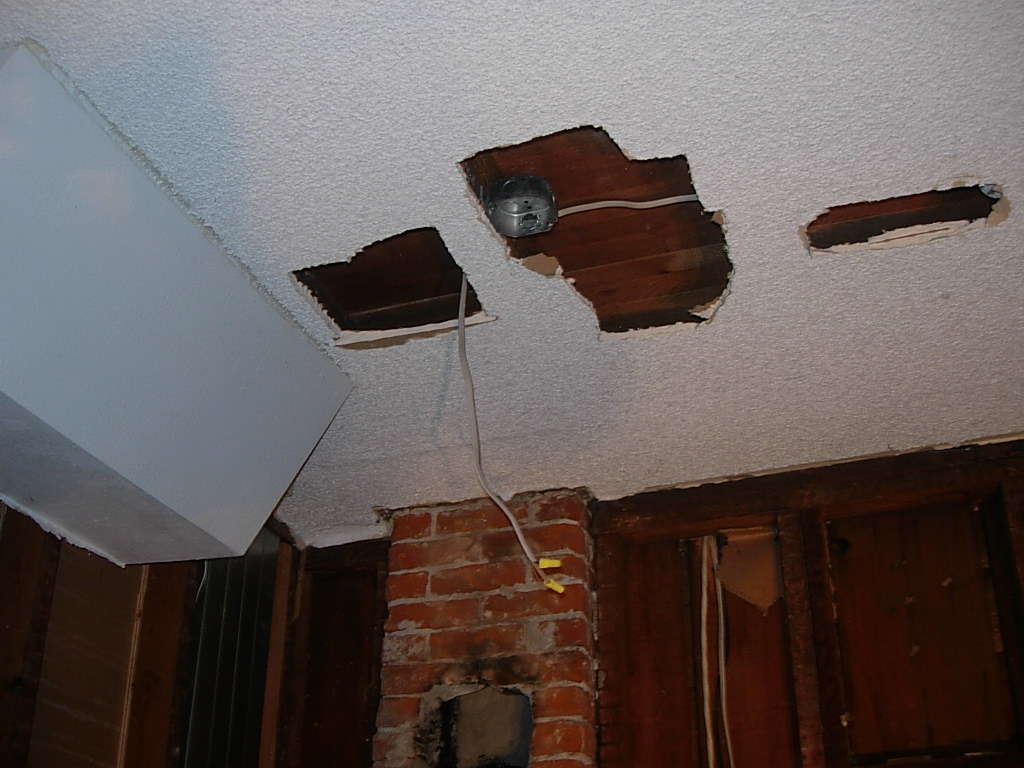
Per the city code, all masonry chimneys for wood stoves require a 2" gap between the chimney and any combustible material. Having the carpet on the upstairs floor laying right next to it seemed a bit dangerous, so I spent my Sunday morning cutting the carpet away, as well as cleaning all the crud that accumulated between the joists and chimney thoughout the years. While doing that I found some interesting collection of comics from 1934. Here's the "after" picture of the project. The reddish glow is from the lighting from below.


I still need to apply some sort of frame around the carpet on the floor, as well as add some fire resistant insulation to fill that gap. I did some research and found one local wood stove supplier has this insulation, but it's about $20 a foot!

Sunday, November 12, 2006

Chimney Connection

This morning I got motivated to make more mess with some mortar (alliteration not intended).

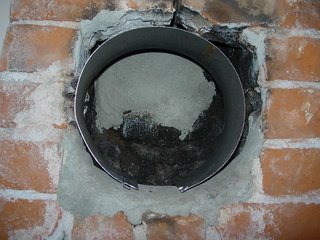
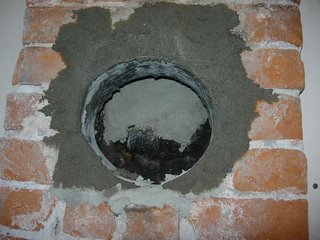
Here's the opening to the chimney as I found it:

Having such an odd shape as above makes for a difficult way to seal the stove pipe to the chimney, so I stuck a 7" stove pipe in the opening, with plans to fill the void with mortar:

And here's the final product, showing the fresh mortar placed in the void surrounding the 7" pipe. Probably half the mortar that I started out with ended up on the tarp that was on the ground below. It was quite a messy job.


To seal the 6" stove pipe to the opening, I plan to use some fire resistant insulation rope that the wood stove folks provided.

Wednesday, October 04, 2006

I'm totally going to hell

Or my house is going to burn like hellfire damnation.

I sent in my questioneer to my insurance company for the woodstove and I lied. Sort of. On the part when they asked when the stove was installed, I put “unknown” as if the stove was in already when I got the house, which isn’t true. But it’s not completely untrue either, because I have NOT installed the stove yet. And I don’t know WHEN I’ll install the stove. So, “unknown” is nearly the correct answer.

I am usually a by-the-book kind of person when it comes to structural and fire safety, but with my 4” x 8” ID chimney, there is no way I’ll be able to install a liner in the chimney, which is required by code. So, I will not get this inspected when it’s complete, because I know it won’t pass due to the lack of liner.

I questioned an inspector over the phone what the danger was with an unlined chimney and he stated Carbon Monoxide poisoning. That is certainly a danger, but with a detector, I felt it wouldn’t be worth tearing down and rebuilding a 16’ chimney. I am, however, following every other rule made by Portland code like the 1” space, non-combustible wall, hearth, annual chimney cleaning, etc.

So, I’m going to see if I can slip this through. I figured if a wood stove worked in this house at one time, why can’t it now?

Saturday, September 23, 2006

Stove Area Lighting


I got the track light Friday afternoon (much earlier than I thought) and I just got done installing the track system tonight. It took about 3 hours or so and was a little tricky getting everything level. When I finally switched on the the light, I was much more impressed that I had thought I'd be.

Here are some other pictures showing the steps along the way....


Wednesday, September 20, 2006

Inner Chimney Mortaring Fun

In preparation for the wood stove installation, which is due in the beginning of October per my Gantt Chart, I wanted to touch up the mortar near the insertion point. First I wanted to round off the corners to make insulating a little easier, then I wanted to slap some mortar on the other side of the chimney where there's an additional insert in the kitchen. I just wasn't sure how the cover in the kitchen would handle the heat. So I thought it best to just use up the remaining mortar that's been sitting in the pantry room corner for awhile. It only took about 45 minutes to do, and the mess I made wasn't too bad. Believe it or don't.


Thursday, July 13, 2006

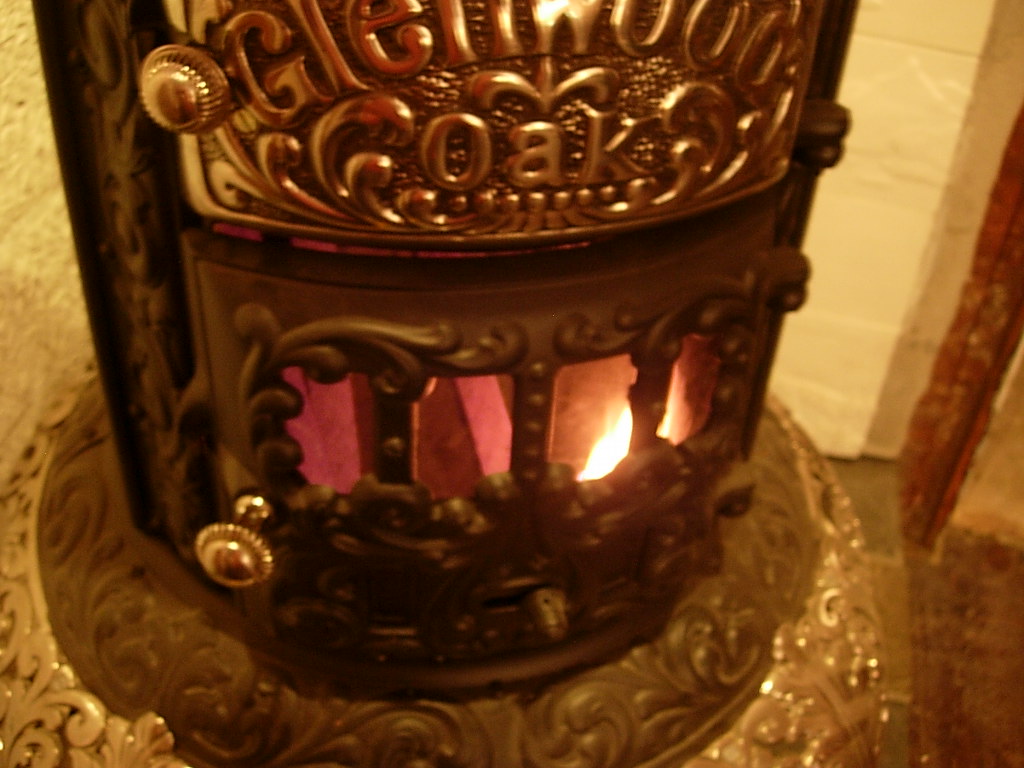
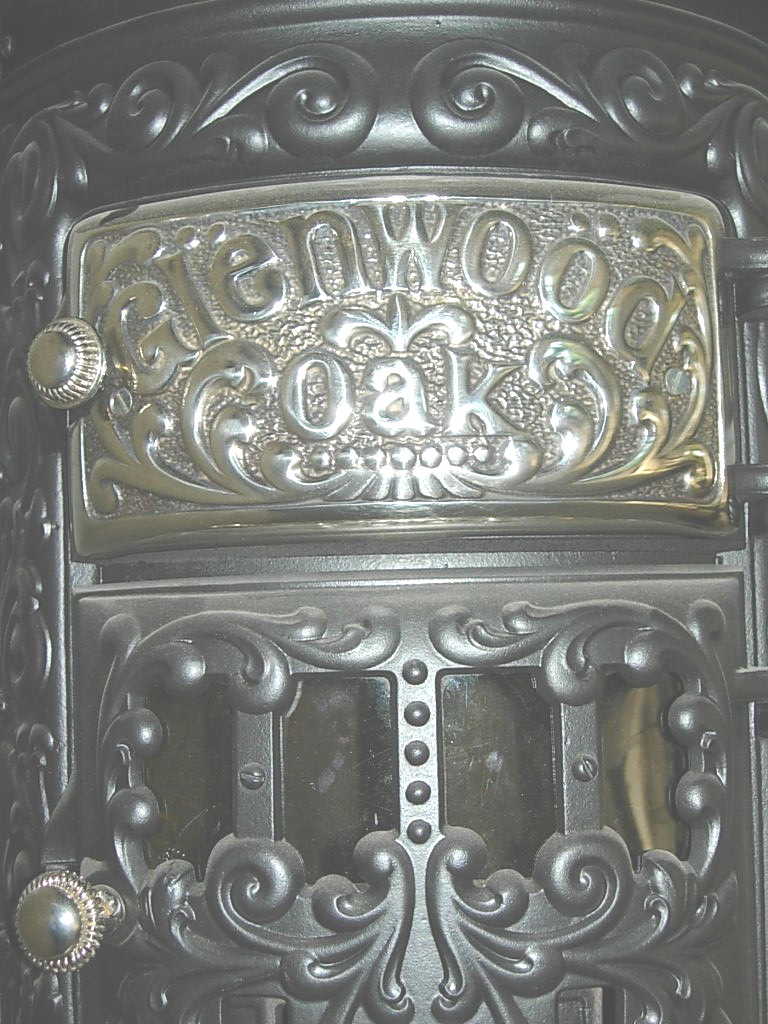
Glenwood Oak Wood Stove


Since being in this 106 year old house for the past 11 years and constantly seeing the old insert for the wood stove, I've really been wanting to get a wood stove back in the house. It was also another push to get the dining room redone.
I bought this from Barnstable in Massachusetts and had it shipped out here earlier this spring. I was a little afraid it'd be too gaudy but as soon as I got unpacked and in the house, I was quite stoked. Rugged elegance.
The year the stove was manufactured was 1899, just a year before this farmhouse was built.


Tuesday, June 20, 2006

A Lighting Idea


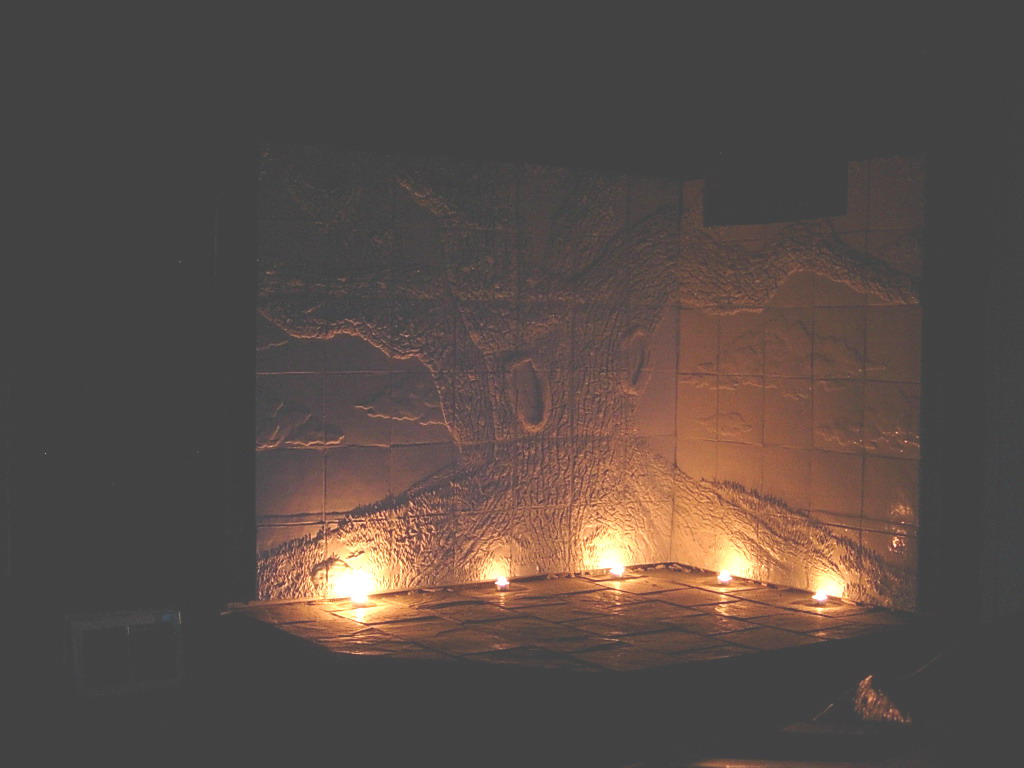
Yesterday, I had an idea of how to light up the oak tree mural. Place track lighting on the hearth floor, aiming up to the tiles. To try it out, I just placed candles to see how the effect would be with shadows etc. Of course, the candles aren't going to justice to what an electric bulb could do. I don't know. I'm slightly inspired.

What do YOU think?